
Contract management is an integral part of managing your assets effectively. The Contracts module in EZOfficeInventory is a central location to store your Contracts related to Items, Purchase Orders, Work Orders, Projects and more.
With all this information consolidated in a single place, you will never lose sight of important information such as upcoming renewal dates. Avoid costly delays, get timely management approvals, and easily run reports to track the expense/costs associated with Contracts.
Here is how to get started:
1. Enable Contracts
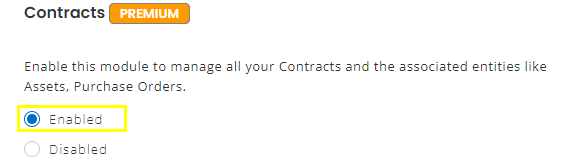
Go to Settings → Add Ons → Contracts and enable the feature.
Note:This action can be taken by Account Owners, Admins and Custom Roles with permissions for Contracts.
After you enable Contracts, you can see the default Contract types. You can either edit the default Contract type or add a new one. To edit the default Contract type, go to the Edit button at the right side:
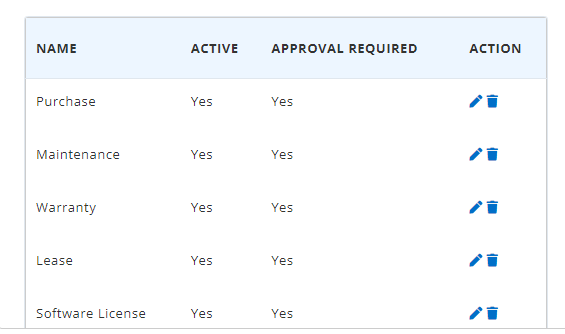
An overlay will appear asking you to enter the edited Contract name and check whether you would like to activate an approval requirement.

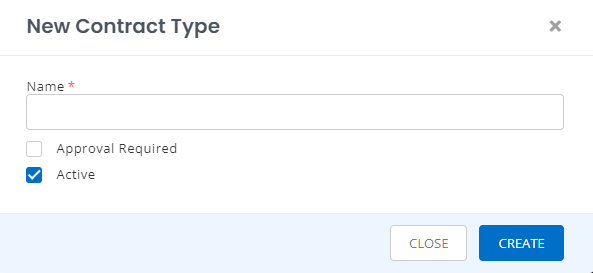
You also have the option to add custom Contracts other than the default ones present in the app. Go to the ‘Add New Contract Type’ button from the Settings:
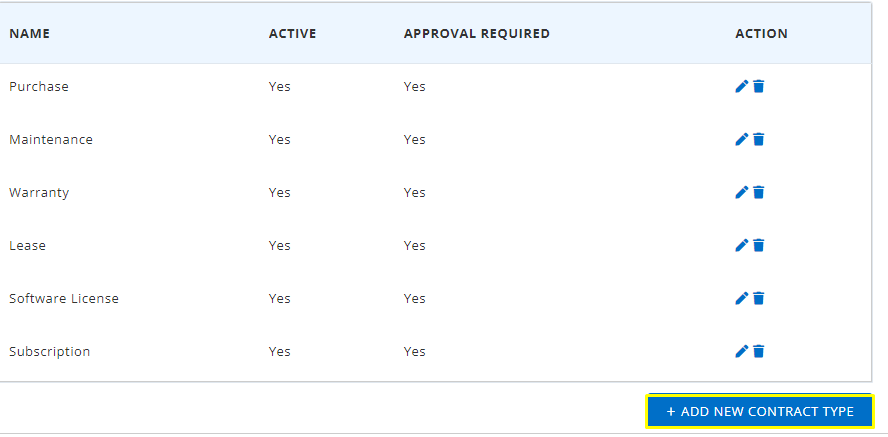
Again, an overlay will appear asking you to fill out the Contract Name and select whether it requires approval:
2.Create a Contract
Now that you have added the types of Contracts, you can start creating Contracts.Go to the Navigation menu → More → Contracts → Add Contract. Here you will be asked to fill out the following fields:

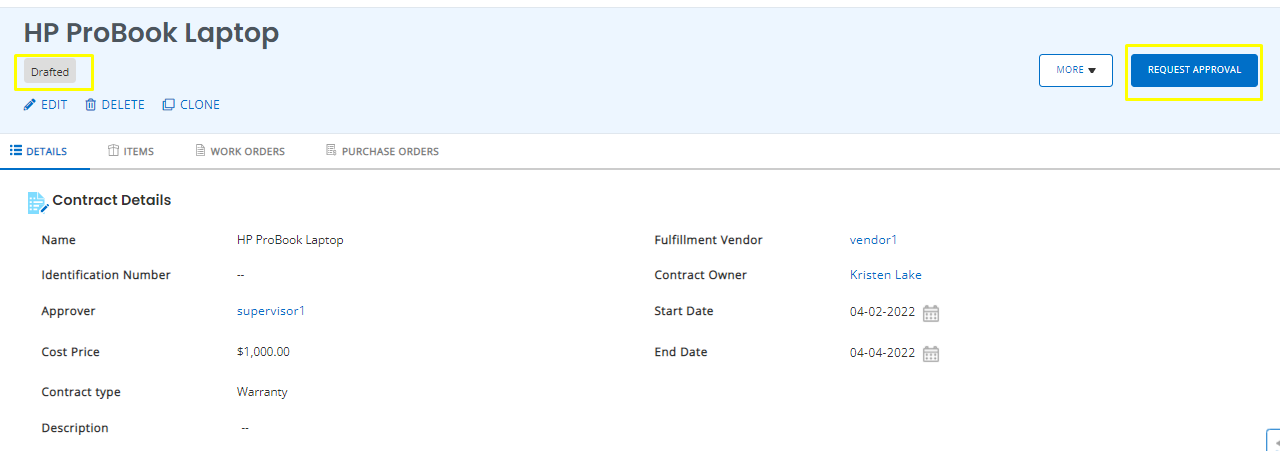
The Contract will be drafted and you can edit, clone, or delete it. Click on ‘Request Approval’ to complete the contract creation process.
Once you have sent in the request, you will no longer be able to make changes to the contract.
2.1 Import Contracts
Apart from adding new Contracts, users can also Import Contracts. From the Contracts Listing Page, go to ‘Import Contracts’. Here you can either add a new Contract or update an existing one.
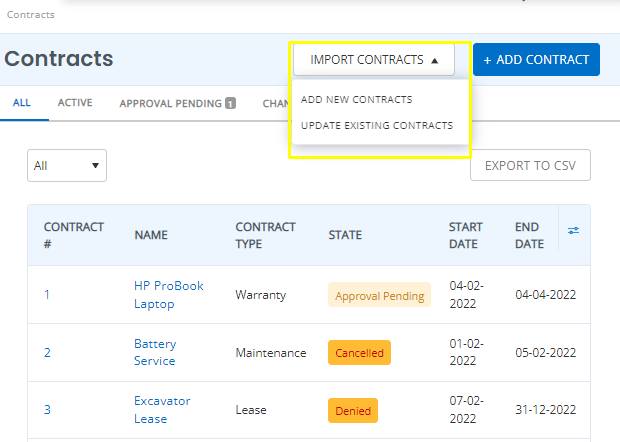
For adding a new Contract, you have to create an Excel file with all the mandatory fields for Contracts. There is also an option to add Item, Purchase Order and Work Order associations within the Contract file.
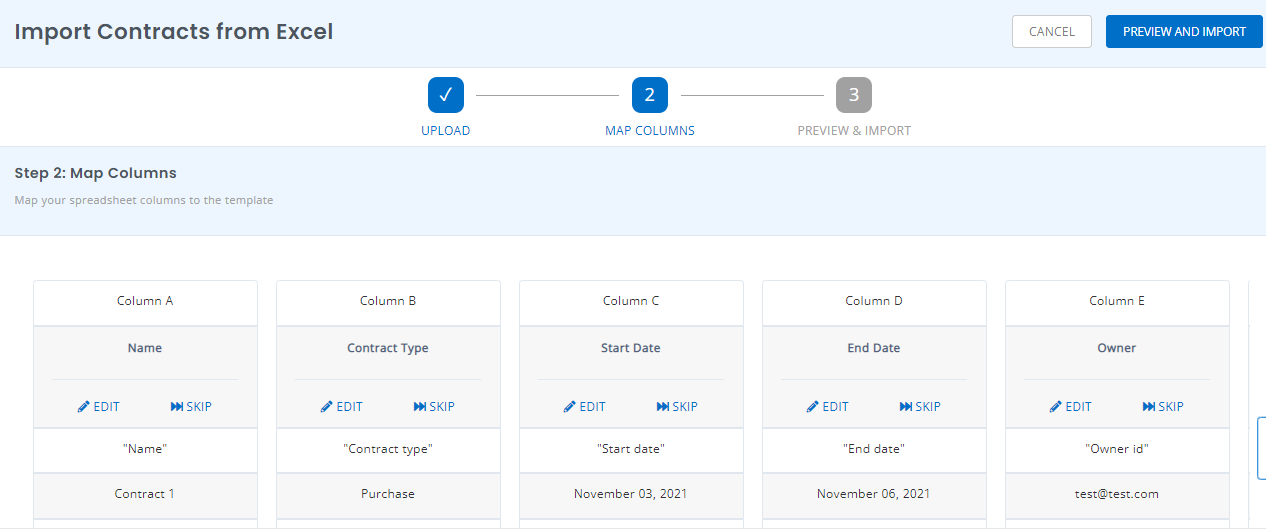
In case any mandatory field is missing in the Excel file, the system will show an error message with the required fields.
Note: To Import Active Contracts the Start Date should be less than the present date. If the Contract requires approval, the Approved on date should be less than the present date. Similarly to create an Expired Contract the End Date must be less than the present date. While importing to update existing Contracts, Contract IDs will be used to match details.
3. Take actions on Contracts
Approvers (Account Owners/Admins/ Custom Role users who have permissions) and Staff users can all take multiple actions on a Contract as soon as it is drafted.
3.1 Approver actions on Contracts
The Approver can send the Contract into three states:
- Denied: If the Contract is rejected.
- Approved: If the Contract is accepted.
- Drafted: If the Approver requires changes in the contract they can Request Review and add comments. This sends the Contract into a Drafted stage – pending review and approval.
After a Contract is created and Staff users request approval, an Approver can view Contracts with Approval Pending on the Listing Page.
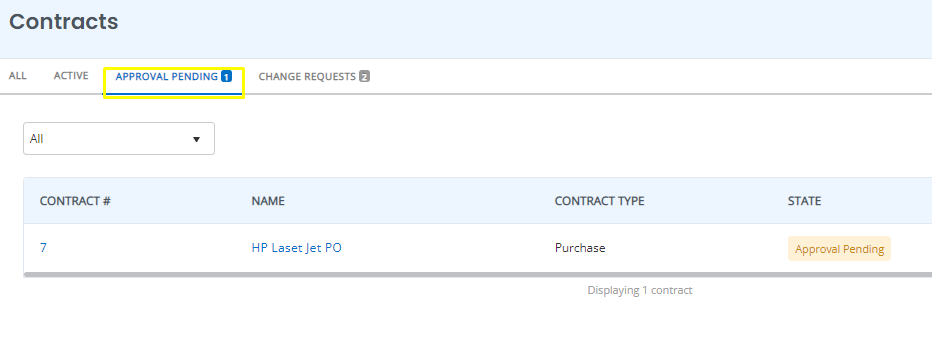
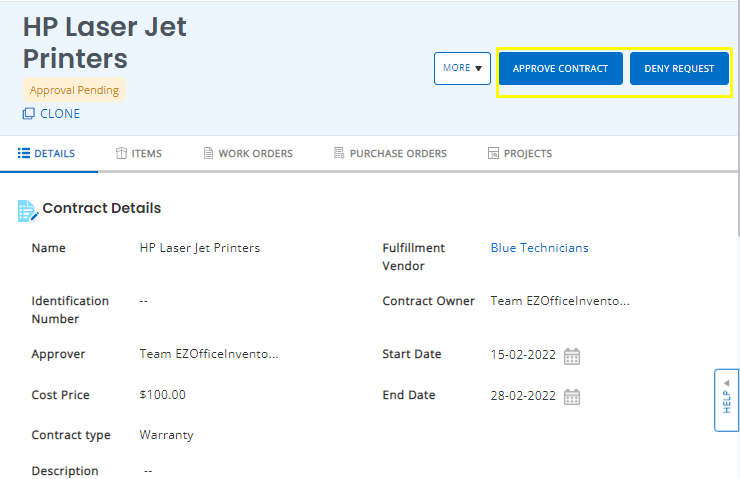
A Contract with the status Approval Pending can either be Approved or Denied.
Once the Contract is approved, it is transferred to the Active state.
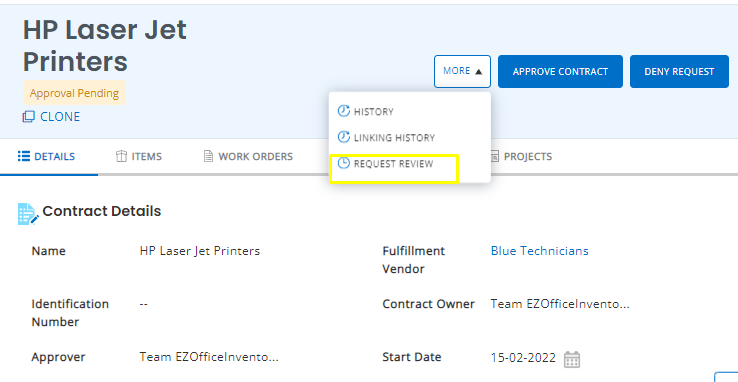
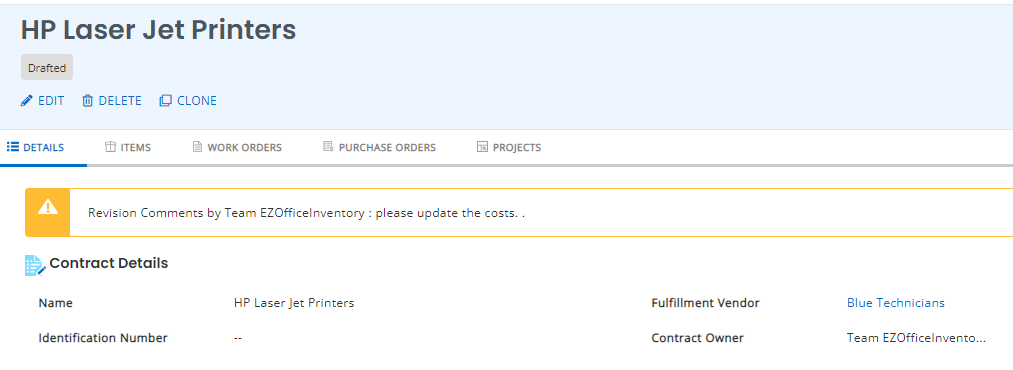
An Approver can also send a Contract to the Drafted state in case any changes have to be made. For a Contract in Approval Pending state, Approver can Request Review from the details page:
An overlay will appear asking the Approver to add comments for what needs to be changed.
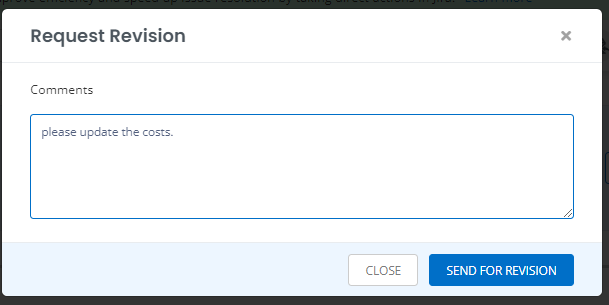
Once the request has been made, the comments will appear on the details page and the state will be changed to Drafted.
3.2 Staff/Approver actions on Contracts
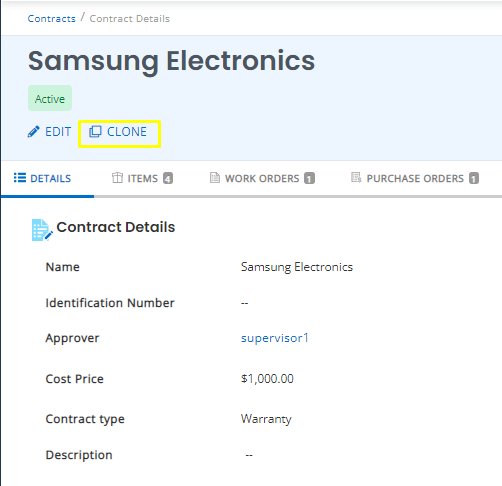
Staff users with viewing permissions for the Contracts can take certain actions on a Contract. After creating a Contract, Users can clone it to replicate all the information. Go to the Contract details page and click on the Clone button as shown:
Cloning a Contract enables you to change fields in the existing Contract as well:
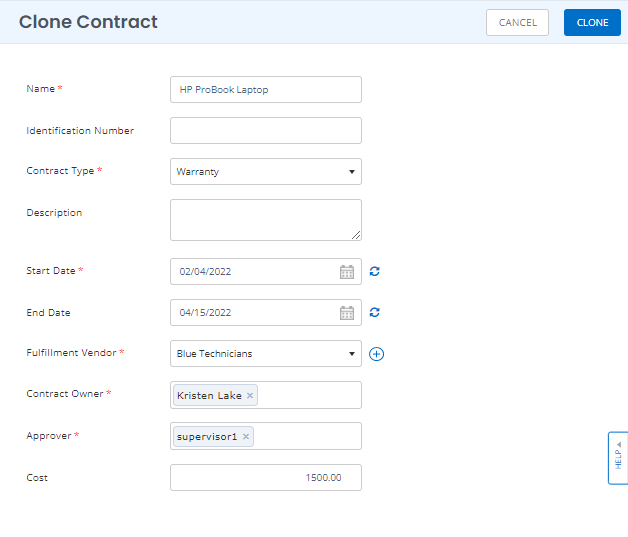
Once done, hit the Clone button to create a new Contract.
3.3 Apply filters on Contracts
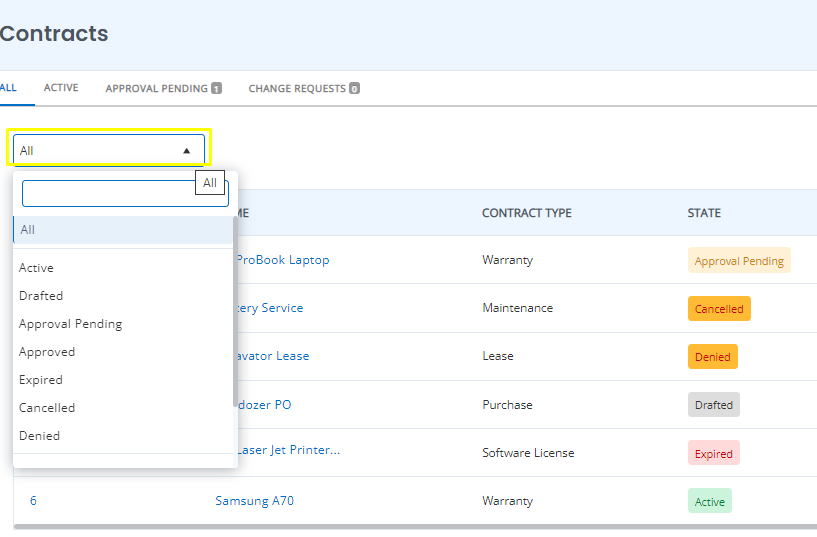
For organizations dealing with a lot of contracts, it can be difficult to sort through them. You can apply filters to easily find the relevant Contract. From the Contracts listings page, click on ‘All’ and a dropdown will appear with filters you can classify the Contracts through.
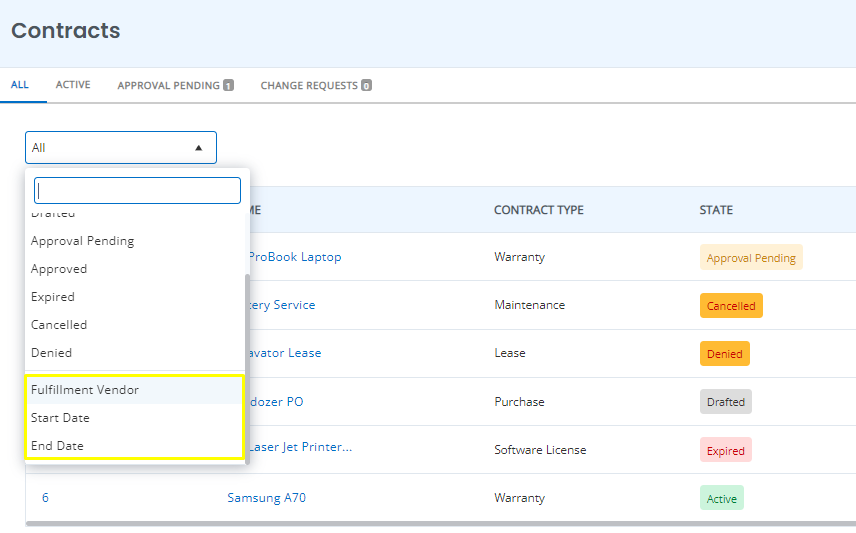
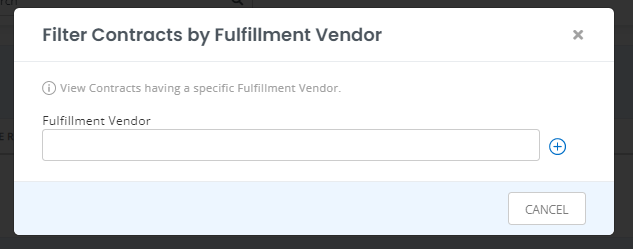
In case a user selects the Fulfillment Vendor filter, an overlay will appear asking to choose a specific vendor for the Contracts.
Similarly for the Start and End Date filter, users will be able to choose a specific date range. All Contracts falling within that date range will be displayed.
Note: All Contracts have the option of being exported to CSV on the Listings Page.
4. Update Contracts
Contracts can be updated through renewing, extending or editing the Contract.
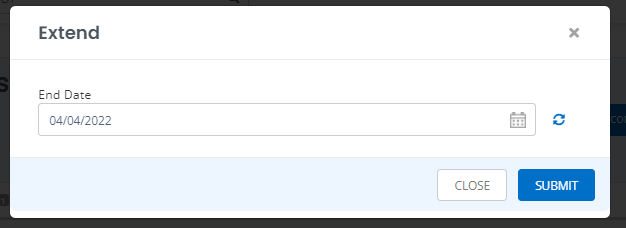
4.1 Extend Contracts
An Active Contract can be extended by going to the Contract details page → Extend Contract. An overlay will appear asking you to enter the new End Date, while the Start Date remains the same:
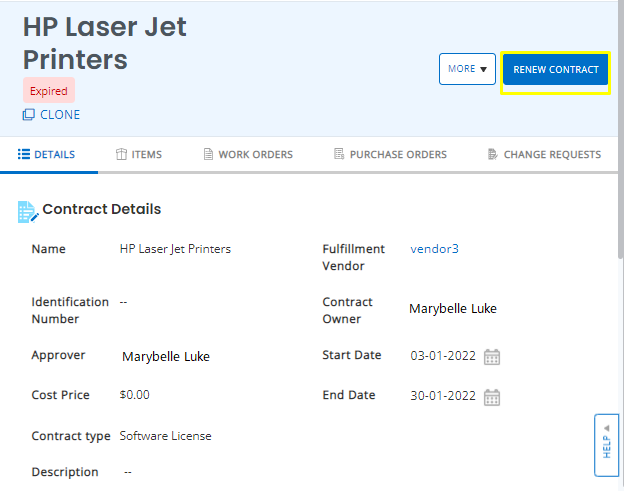
4.2 Renew Contracts
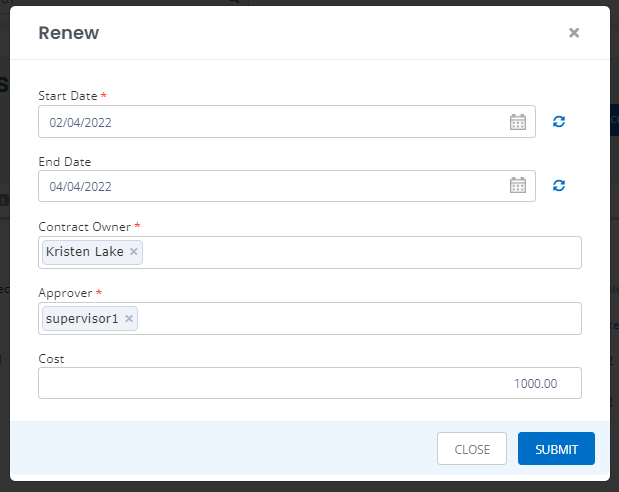
Similarly an Active and Expired Contract can be renewed from the Contracts Details page →Renew Contract.
A Contract can be renewed by revising the Start and End Dates as follows:
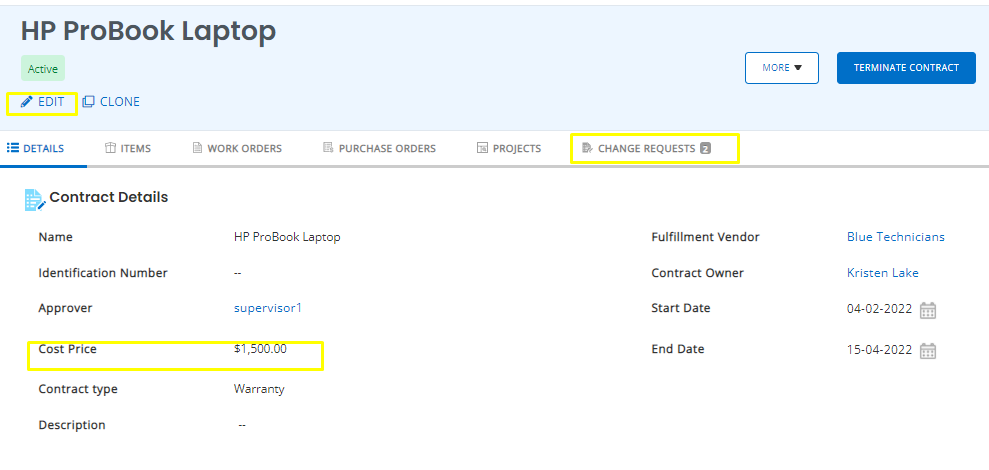
4.3 Edit Contracts
Lastly an Active Contract can be edited to make a change request in case a field needs to be updated. Simply go to the Contract details page → Edit. For instance if you want to update the cost from 1500$ to $2000, you can easily update this information in the Edit details page for the Contract.
4.4 Terminate Contracts
After the contract is moved to the Active State, the Approver still has the option to terminate the contract. To end a contract, go to an Active Contract’s detail page. Click on ‘Terminate Contract’ to cancel the active contract.

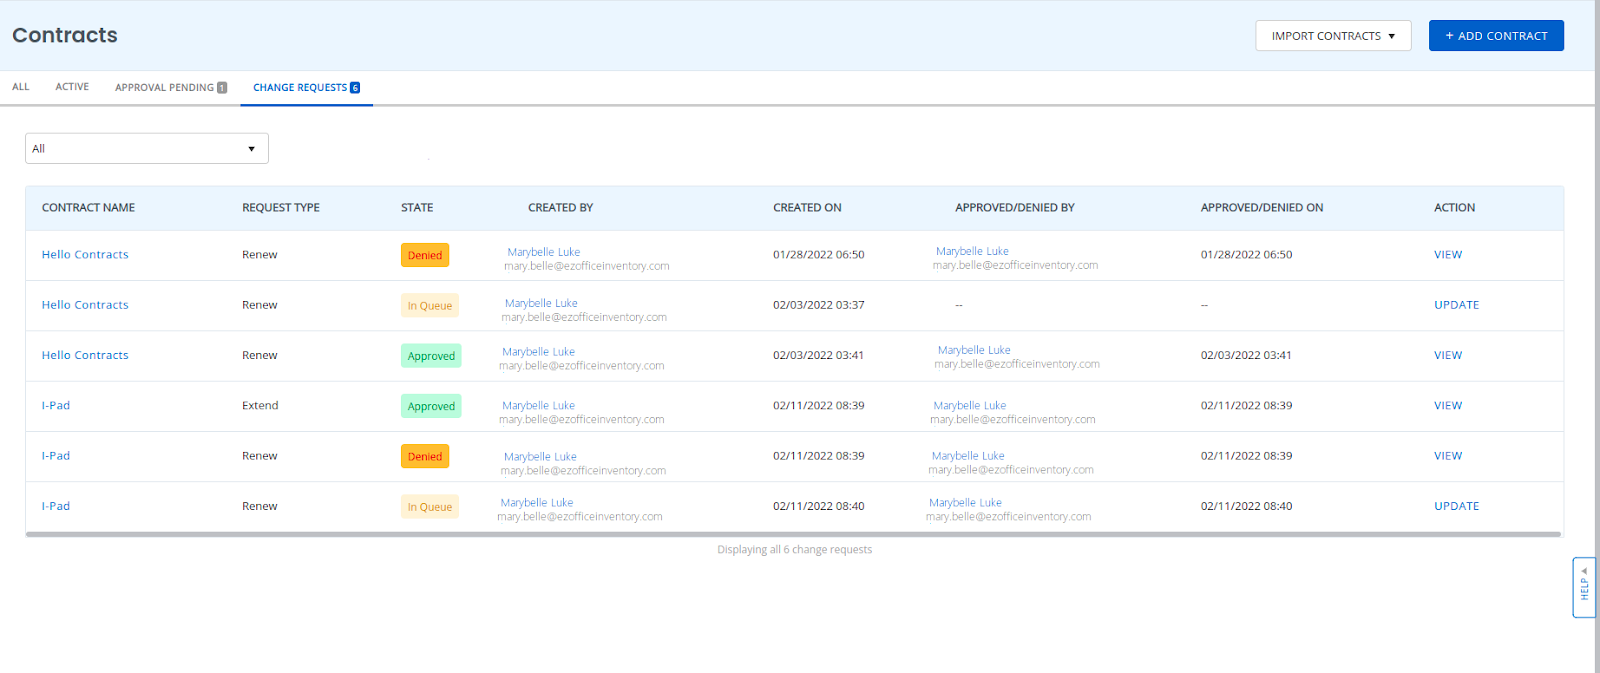
To view all change requests made for a Contract go to the Change Request tab on the Listings page.
Note: When an Approver makes a change request to a Contract, it is approved automatically. For change requests made by other account users, Admins/Supervisors can view them on the Contract Listing Page.
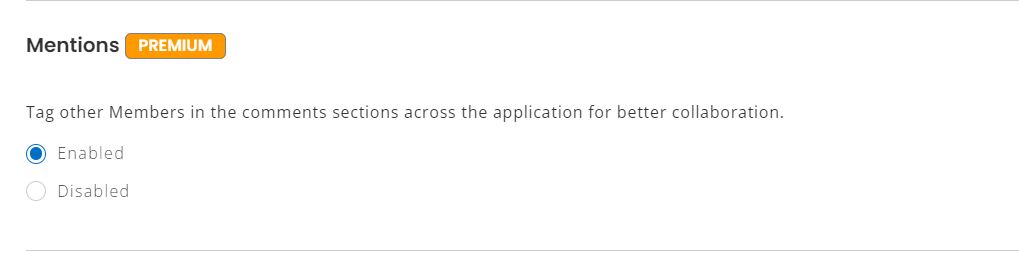
5. Comments and Mentions
Users can now add comments with mentions at the end of the asset details page to notify other users of a certain action. To enable the settings, Go to Company settings → Add Ons → Mentions
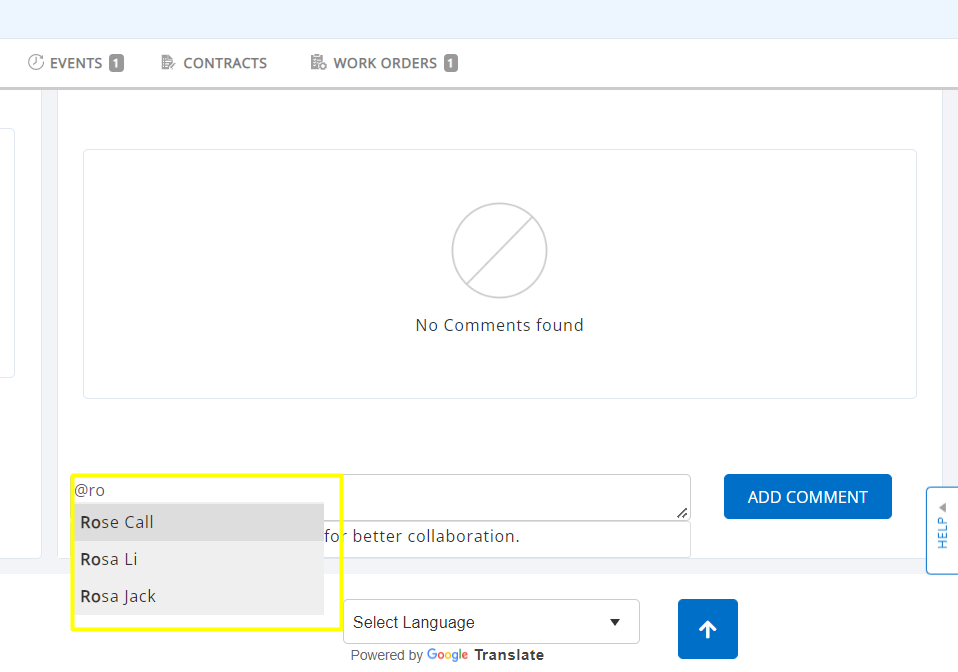
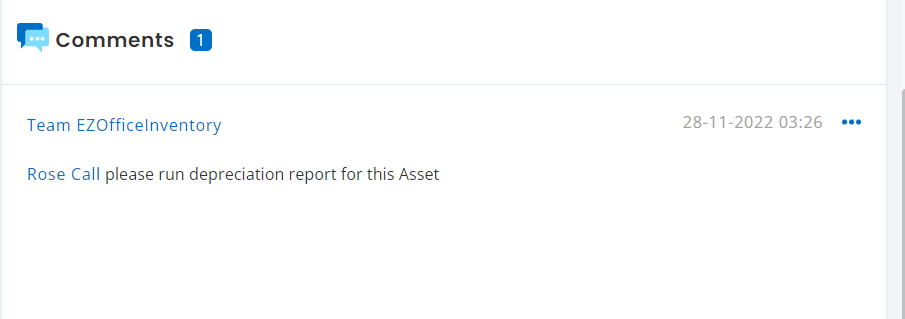
Once you enable the settings, you will be able to mention other users by typing @username. For example, if you have signed a new contract, you can notify a certain user by adding a comment.
Note: Mentions is applicable to all Assets, Asset Stock and Inventory.
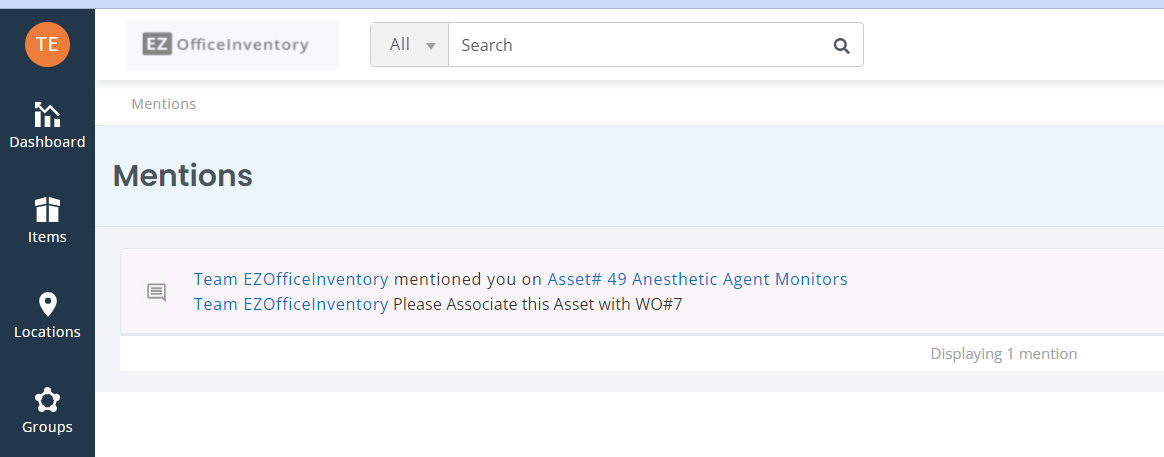
The user will be notified of the mention by clicking on the bell icon on the dashboard. Click on ‘Mentions’ from the dropdown and you will be directed to the mentions listing page for further details.
6. Associate Contracts to multiple modules
Contracts can be linked with Items, Purchase Orders, Work Orders and Projects. In order to link these modules to Contracts, they have to be enabled from the Settings.
6.1 Link Items
To link a Contract to the Items module, simply go to the Contracts details page and click on the Items tab.

An overlay will appear asking you to search for Asset,Asset Stock and Inventory. After selecting the relevant Items, click on ‘Link’. All linked Items will appear as follows on the Contract details page:
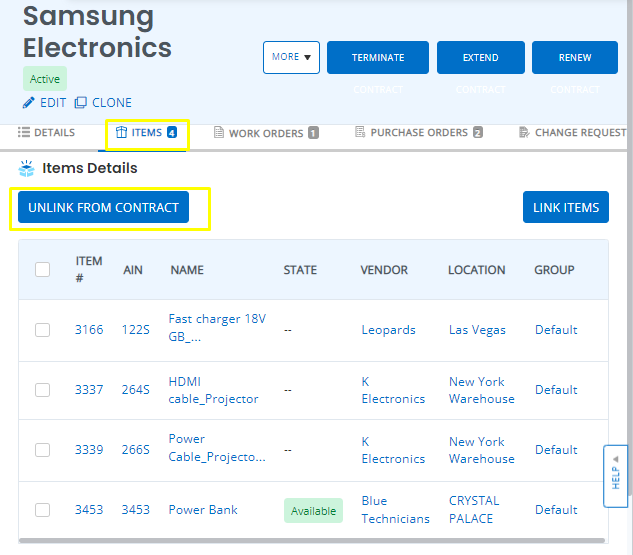
Any Item(s) can be unlinked by selecting the checkbox and clicking on ‘Unlink from Contract’.
Other than this, users can also link Work Orders and Purchase Orders to the Contract by following the same workflows.
6.2 Link Work Orders
Work Orders linked to a Contract appear as follows:
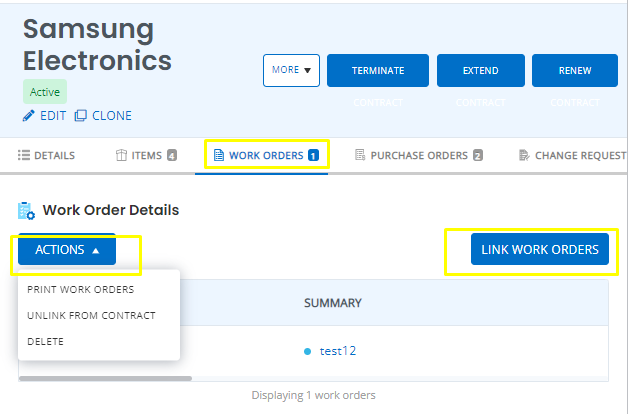
Users can take mass actions on Work Orders linked to a Contract by going to Actions and selecting the required button.
6.3 Link Purchase Orders
Similarly, Purchase Orders linked to a Contract appear as follows and can be unlinked from the Mass Actions button.
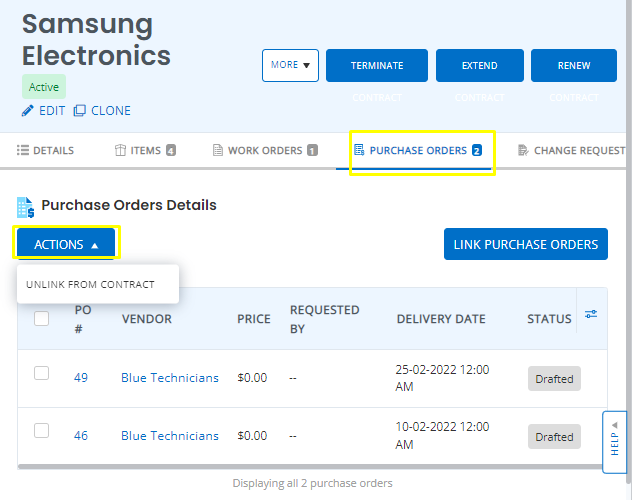
Note: A PO can only be linked to one contract, but a contract can be linked to multiple POs.An item or WO can be linked to multiple Contracts and vice versa.
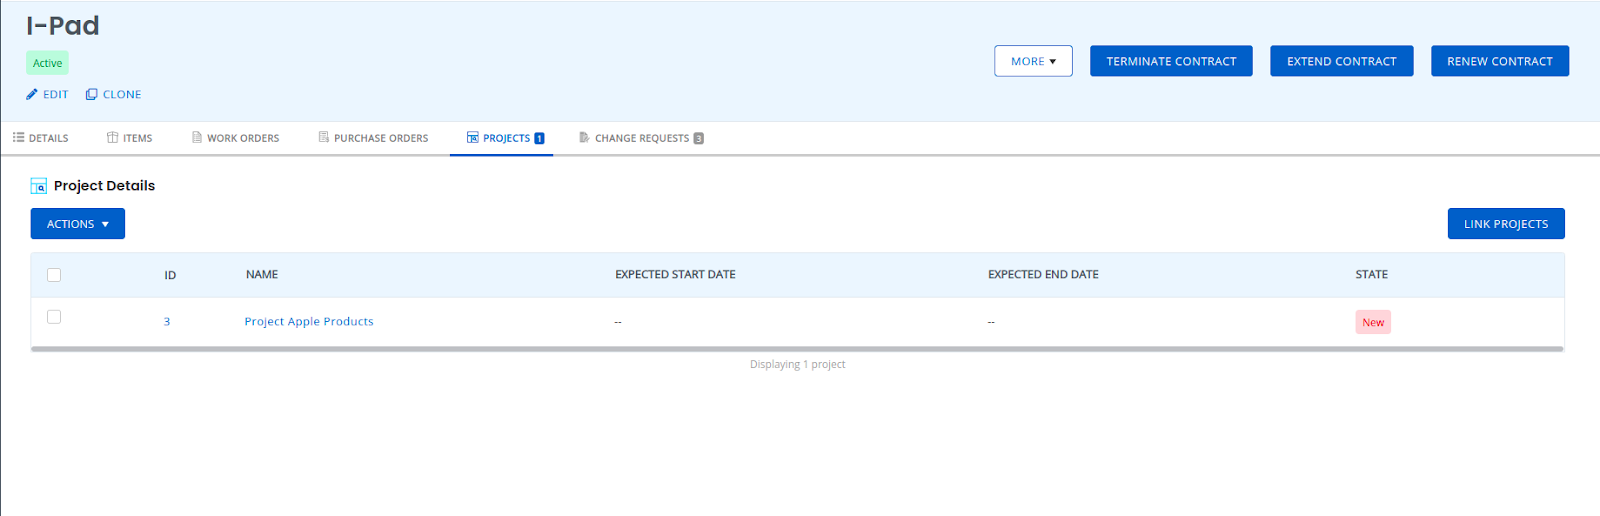
6.4 Link Projects
Projects can be linked to Contracts as shown in the following image:
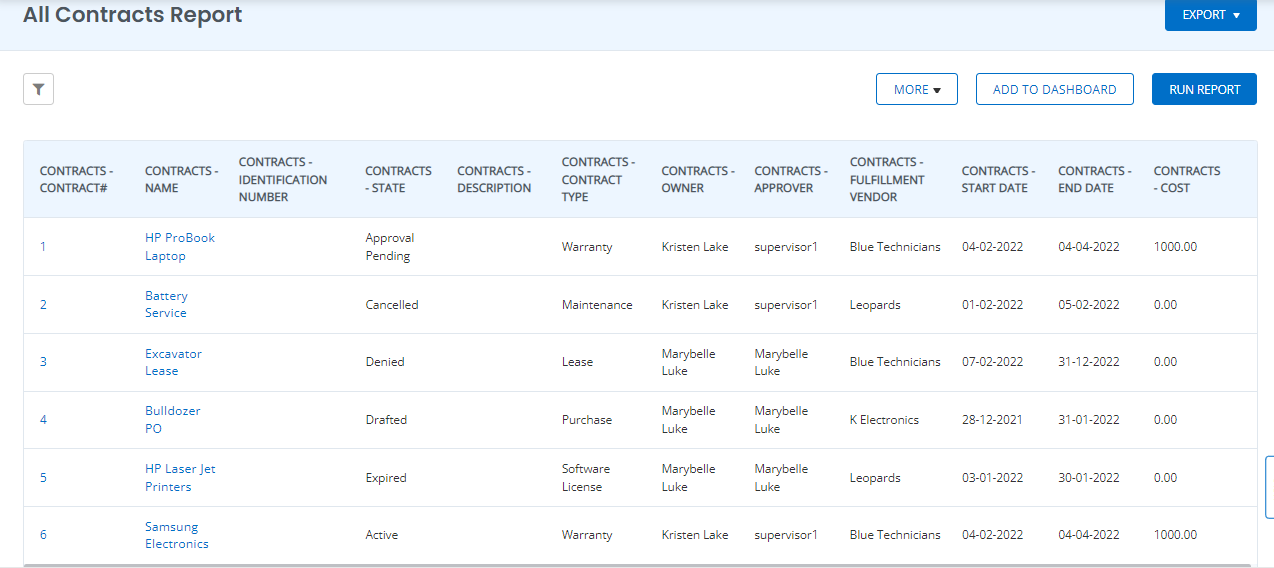
7. Run Contract Reports
From the main navigation menu go to Reports→ Contract Reports. Here you will be able to run two kinds of Reports: All Contracts and Procurement Reports. An All Contracts Report will look like this:
An example of Procurement Contract Reports will look like this:
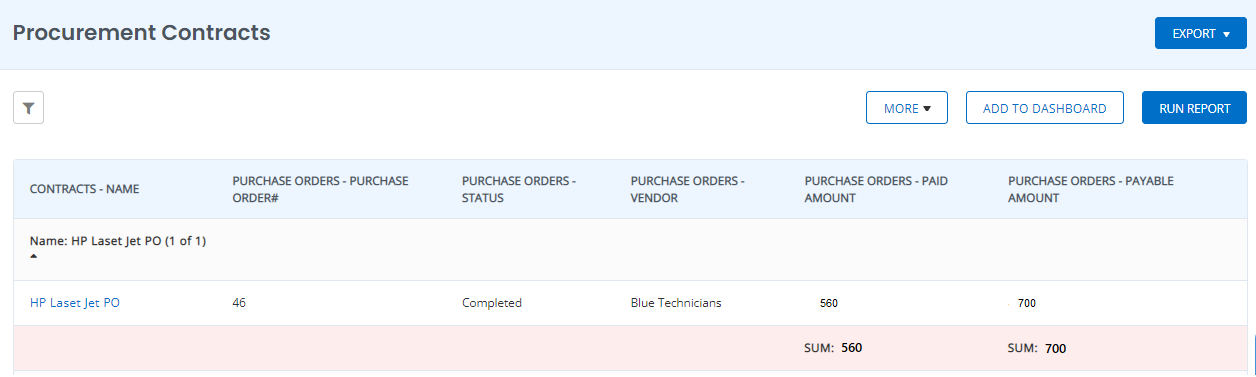
Other than these two Reports, you can also run a Custom Report for Contracts as suited to your business needs.
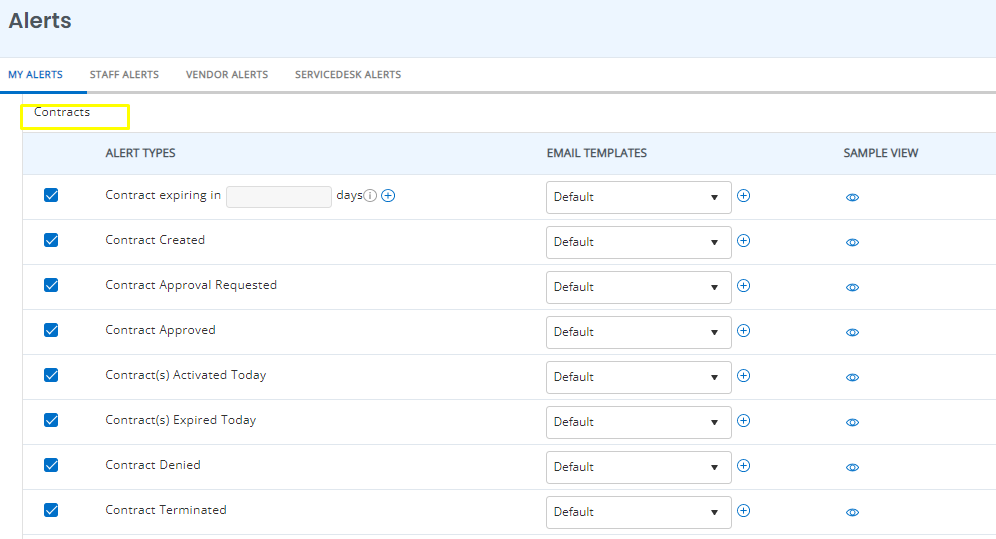
8. Set Contract Alerts
Contract Alerts can be set up from the main Navigation Menu → Alerts → Contracts.
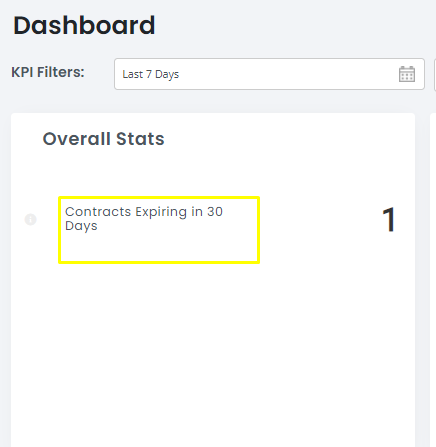
9. Add Contract KPIs
On the Dashboard, you can choose to add the following KPI:
About EZOfficeInventory
EZOfficeInventory is the leading asset tracking software. It allows you to track, maintain, and report on equipment from anywhere, at any time.


