
Field projects typically involve a lot of workflows where equipment changes hands multiple times throughout the day. If the custody trail is not followed and documented, there is a big risk that equipment can be lost, misplaced, or stolen – with no one to hold accountable. To help you avoid this situation, EZOfficeInventory makes it easy to record the transfer of custody for Assets and Asset Stock within your organization.
To implement an additional layer of security, EZOfficeinventory account owners can also turn on arbitration where a system Admin has to approve the transfer. Mandatory approvals on custody transfers enable project managers to have an enhanced control and oversight over equipment movement in the field. A transfer request can be either denied, accepted or cancelled depending on the workflows and requester.
Take the example of construction or engineering companies that can have multiple teams out in the field with new employees being hired on a weekly basis. In such cases, arbitration on custody transfer enables supervisors to control asset movement from one staff member to another. Closely monitored asset custody transfers ensure that all items remain with the authorized owners who are tracked within the system.
Transferring custody of Asset and Asset Stock can be divided into two parts: with and without arbitration.
Step 1: Enable transfer of custody
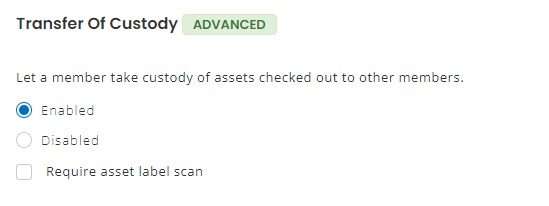
In order to allow members to take custody of Items checked out to other members without arbitration, go to Settings → Add Ons→ Transfer of Custody → Enable.
Step 2: Take custody of Items
Custody can be transferred for both Asset and Asset Stock.
Step 2.1: Take custody of Assets
Once the Transfer of Custody is enabled, the staff user is able to go to the checked out Asset page and directly take custody.
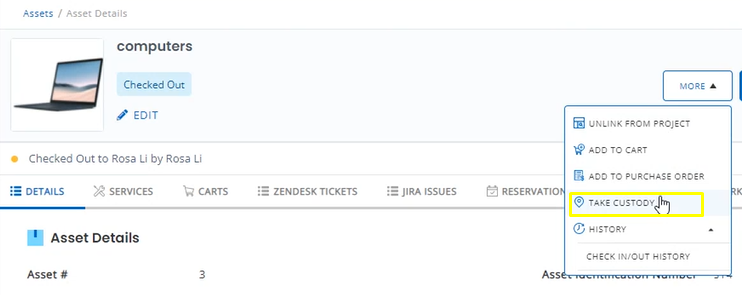
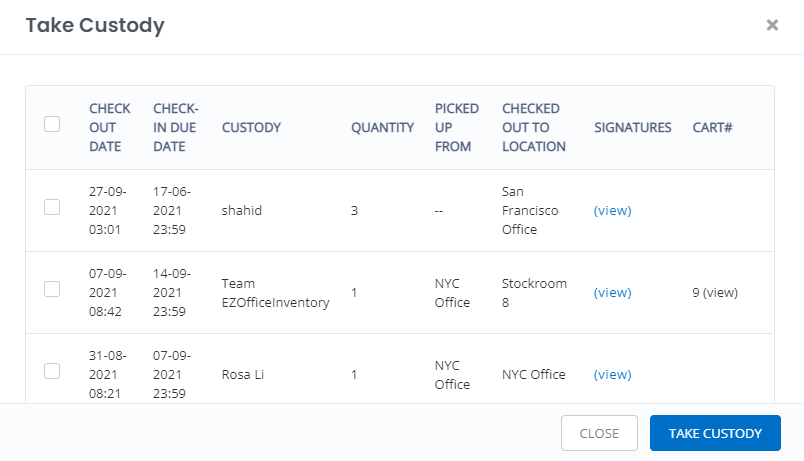
After the staff user clicks on the Take Custody option, an overlay will appear asking for the following details:
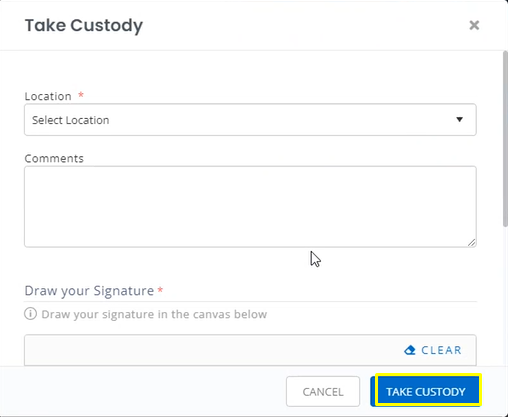
Fill out the Location and add Signature and click on Take Custody to transfer the ownership to yourself.
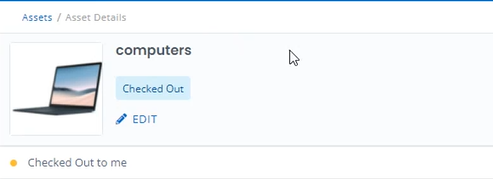
Without arbitration enabled, the staff users will be able to directly transfer custody to themselves.
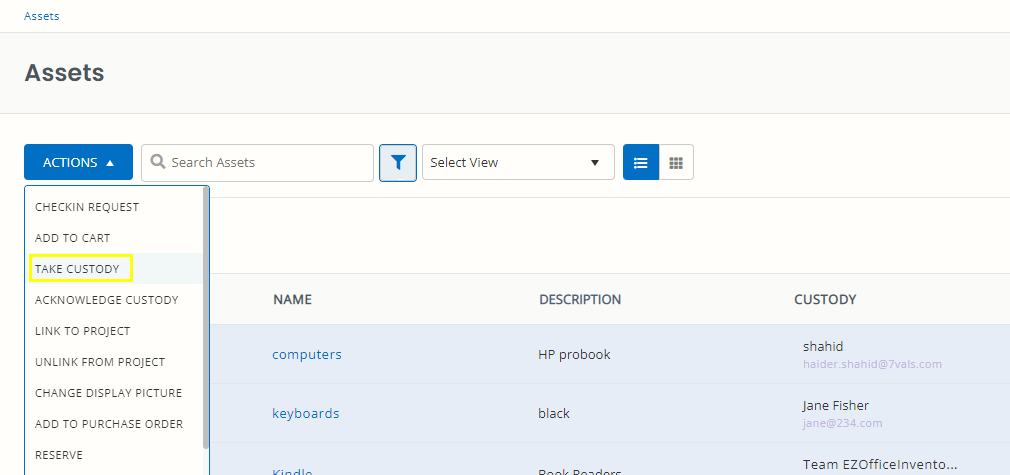
Users can also take mass custody of several items at one time. Simply go to the Listings page → Actions → Take Custody. Be sure to turn on the Filter for checked out Assets.
Step 2.2: Take custody of Asset Stock
In order to take custody for Asset Stock, simply go to the Asset Stock details page → More → Take Custody. This will display an overlay with all Line Items checked out to different users. Select the item you want to transfer to yourself and click on ‘Take Custody’.
Next, you will be required to enter the Asset Stock Quantity you want to transfer to yourself. Enter the mandatory details and hit ‘Take Custody’.

Step 2.3: Take custody of Packages
Assets that are part of a package can also be transferred from one member to another. In order to take custody of a Package, go to the Package details page → Packaged Assets.
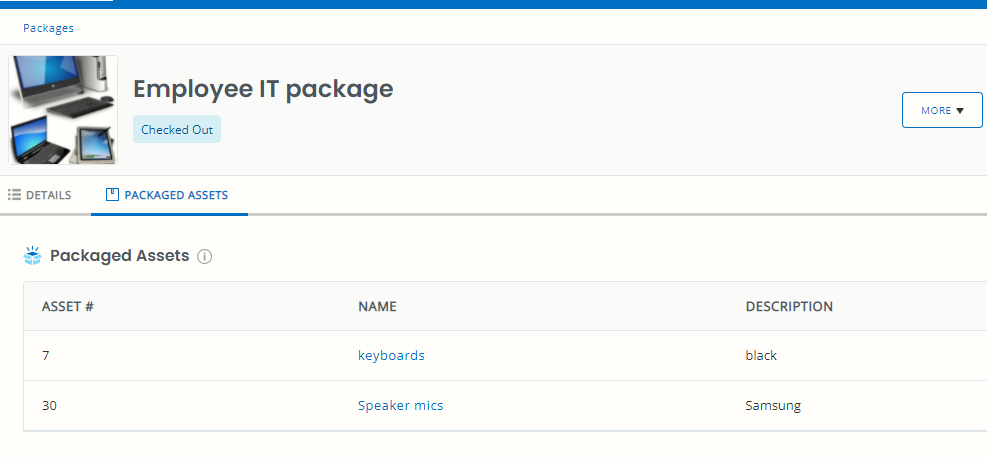
Go to the Asset details page → More → Take Custody. Here you will be able to take custody for all assets in that Package.

In order to implement secure custody transfers, account owners can enable arbitration for custody transfer. The following steps will show how the workflows change when arbitration is enabled.
Step 3: Comments and Mentions
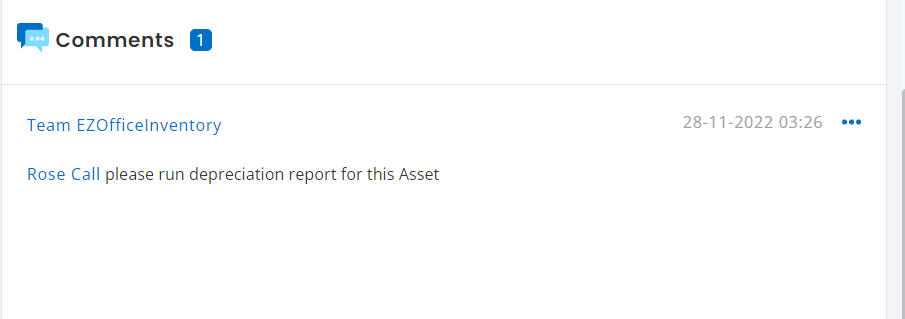
Users can now add comments with mentions at the end of the Asset details page to notify other users of a certain action. To enable the settings, Go to Company settings → Add Ons → Mentions

Once you enable the settings, you will be able to mention other users by typing @username.

Note: Mentions is applicable to all Assets, Asset Stock and Inventory.
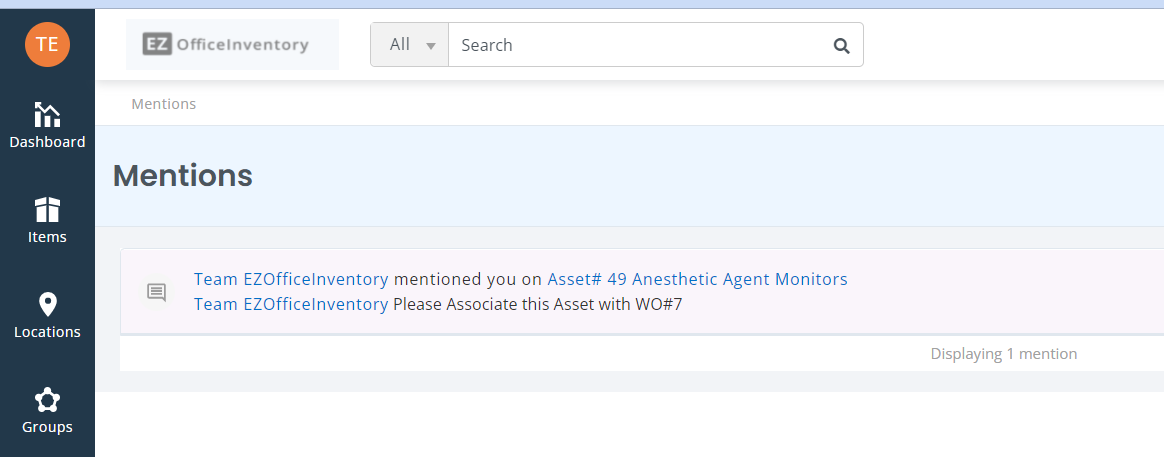
The user will be notified of the mention by clicking on the bell icon on the dashboard. Click on ‘Mentions’ from the dropdown and you will be directed to the mentions listing page for further details.
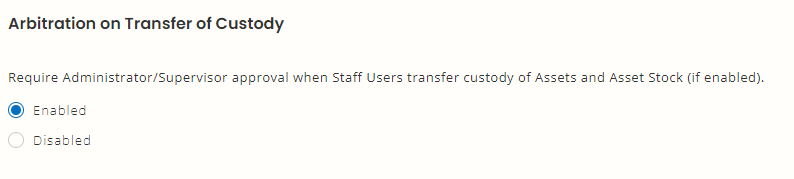
Step 4: Enable arbitration on custody transfer
Go to settings → Add Ons → Transfer of Custody → Arbitration on Transfer of Custody → Enable.
Read more: Types of Arbitration: Setting up Access Control
Step 5: Custody transfer for Items with arbitration
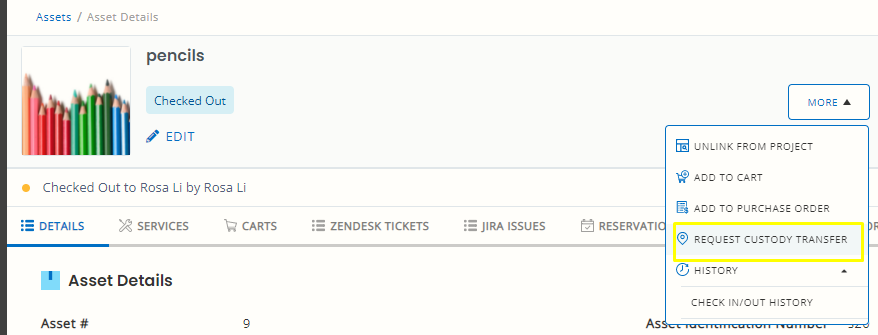
The custody transfer for Assets/Asset stock/Packages follows the same workflow as Step 2 with the following additions. Here is an example of transfer custody with arbitration for Assets by a Staff User:
With the arbitration enabled on the transfer of custody, Staff Users will have to request for custody transfer:
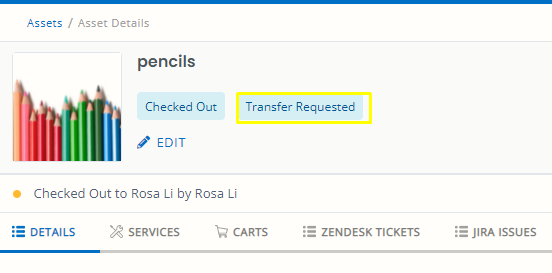
Once the transfer is requested, the Asset Details page will show the following notification:
Users can even request custody for the same Item multiple times. All these requests will be redirected to the Account Owner.
Step 5.1: Take action on custody requests for Assets
All transfer requests can be viewed under the Notification bell as shown below:
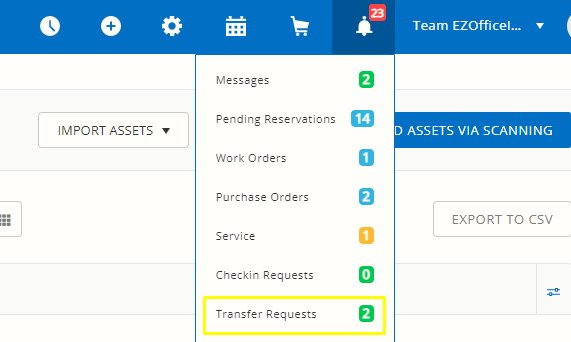
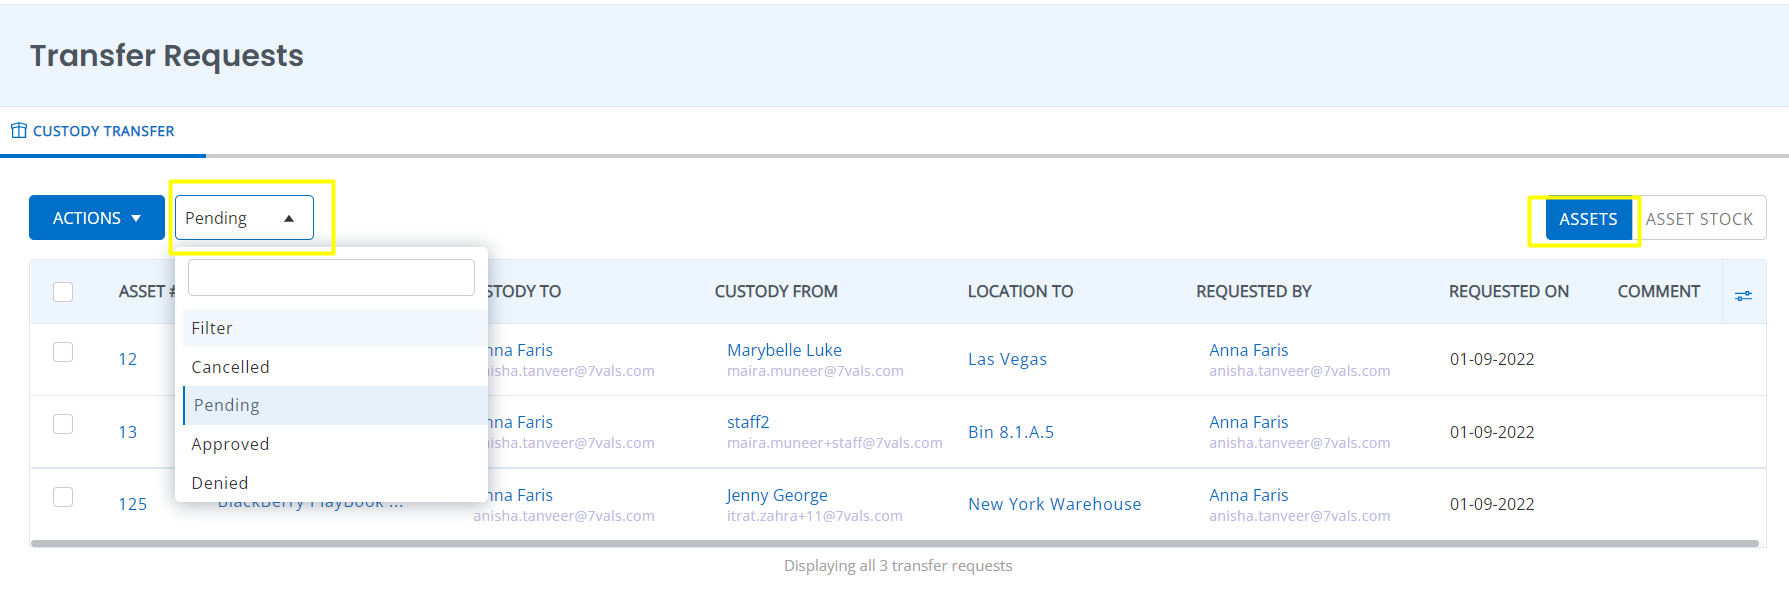
When you click on ‘Transfer Requests’, you will be redirected to a new window with all the pending requests. Here you can take three actions:
- Choose to view all requests for Asset or Asset Stock.
- Filter out requests through status like Pending, Cancelled, Approved and Denied.
- Respond to the Custody Transfer Requests.
Note: Custody Request is cancelled in case more than one staff users have requested custody for the same Items. Only one request is approved while the rest of them are cancelled.
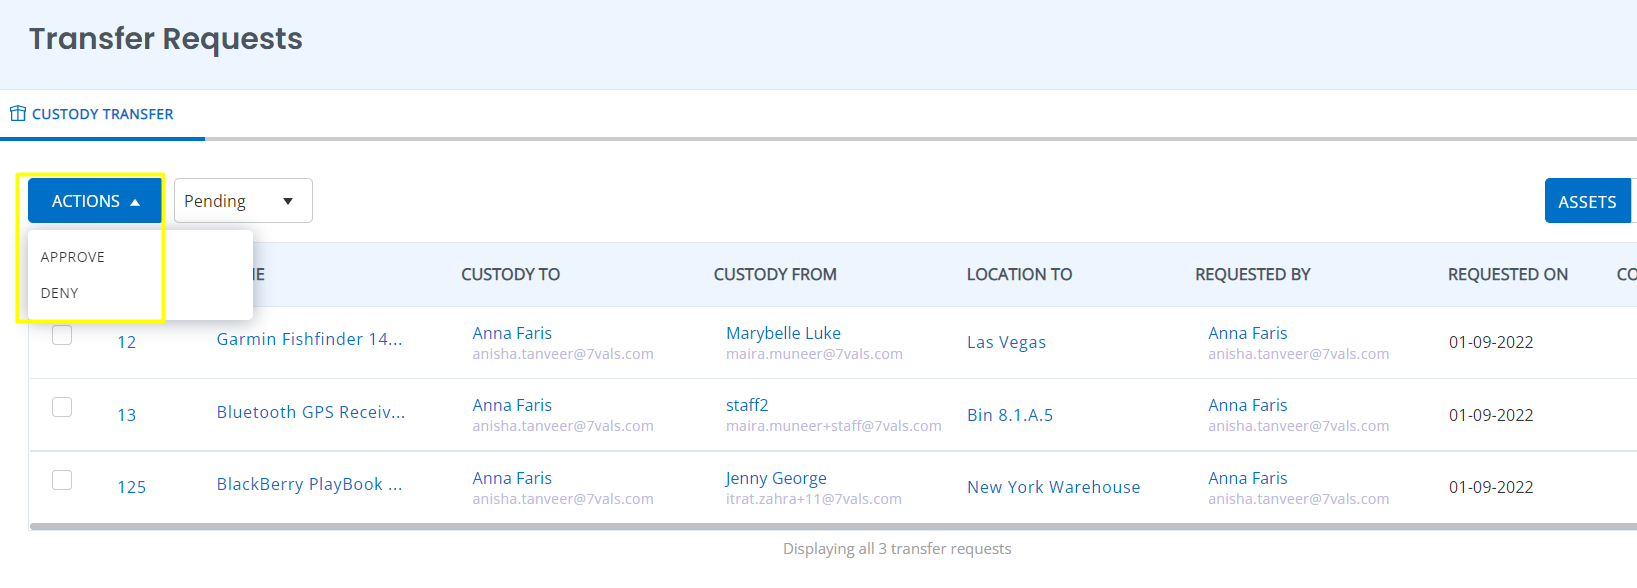
Select the Assets you want to Approve/Deny custody request for. Go to the Actions tab and click on either Approve or Deny.
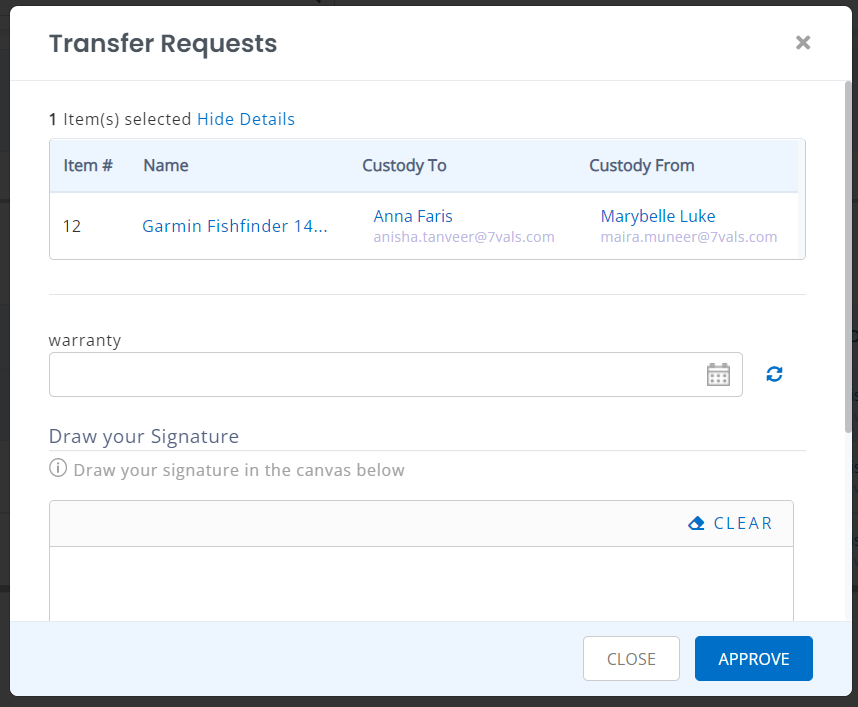
In case you want to Approve a transfer, the following overlay will appear asking for the following details:
Step 5.2: Take action on transfer requests for Asset Stock
Go to Asset Stock tab, select the Asset Stock and click on ‘Actions’.
Here the account owner can view the quantity of Asset Stock for transfer of Custody and then either approve or deny the request.
Note: For an Asset Stock having a total Quantity of 20 the account owner receives 2 custody transfer requests each of quantity 15 and 10. If the account owner approves either of the requests, the second will be automatically cancelled.
If an item has a transfer requested on it, and the item is checked in by the custodian, the transfer request will be cancelled automatically.
Step 6: Set alerts for custody transfers
Alerts for custody transfers can be set by going to the Navigation Menu → Alerts → My Alerts → Checkin/Checkout.
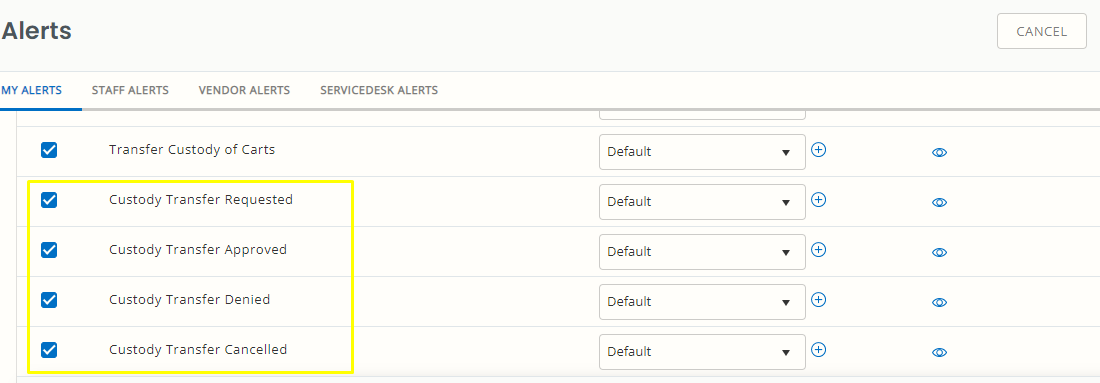
You can use the default email templates or customize templates according to your requirements.
Step 7: KPIs for Dashboard
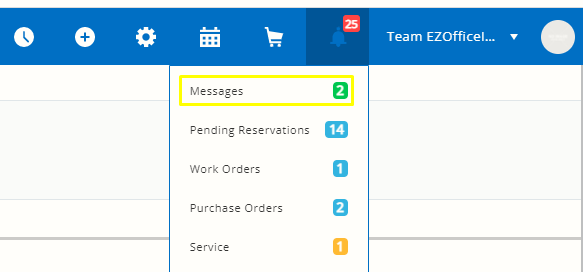
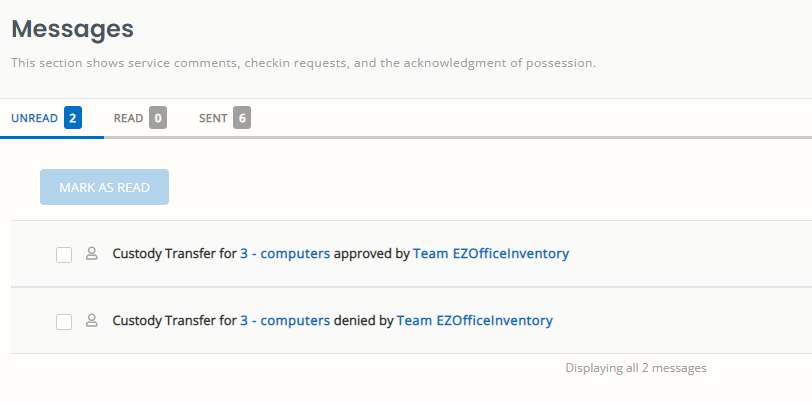
For every custody transfer, both account owners and staff users can view history through message KPIs. Go to the notification bell → Messages.
Here you will be able to see all transfers there were received, approved and denied :
In order to view the custody transfer KPI on your Dashboard, go to the Dashboard → Add/Edit Widgets and select the custody transfer KPI. Once added, you will be able to view the total number of transfers on your Dashboard directly
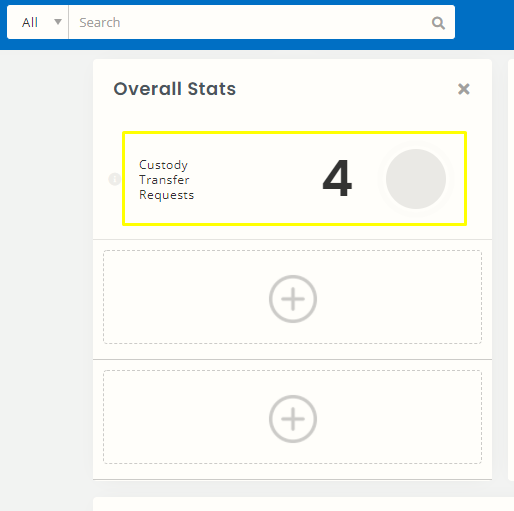
If you click on the quantity on the Dashboard KPI, you will be redirected to the Transfer Requests Notifications page.
Read more: Track Your KPIs With Advanced Dashboard in EZOfficeInventory
About EZOfficeInventory
EZOfficeInventory is the leading Asset tracking software. It will allow you to integrate and use your Asset data with any third party application built on Amazon Web Services. We offer a free 15-day trial – no credit card required!


