
You can easily categorize and organize items in EZOfficeInventory using groups. Another way to organize your assets is ‘by Location’. To learn more about location management, click here.
When creating groups to classify your assets, it is important to first understand how groups are used in our asset tracking software. Groups play a crucial role in setting up the following:
Note: Setting up groups for Item Bundles, Recurring Services and Maintenance, Service Triage, Work Orders is discussed in this other blog.
Creating a Group and Associating Items to it
EZOfficeInventory lets you create multiple groups and subgroups to categorize items easily. A group can have subgroups, while subgroups cannot have a further division. Items can only be associated with one group and one subgroup.
To create a group, click on the ‘Groups’ icon from the side navigation bar.
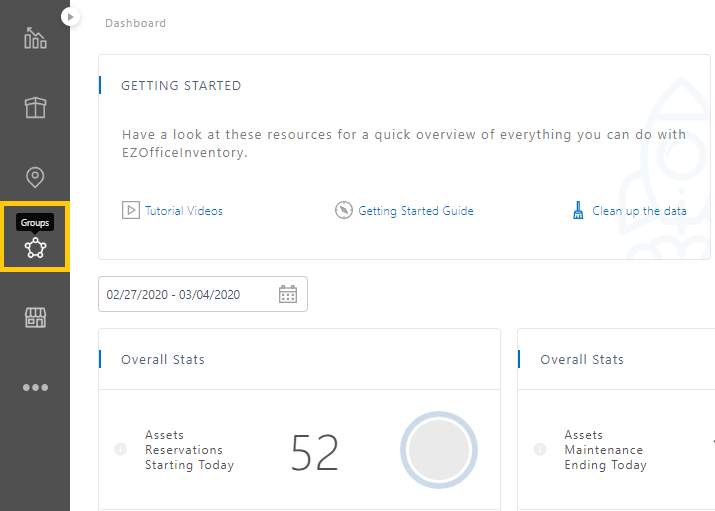
From the Groups listing page, click on the ‘+ Add Group’ button.

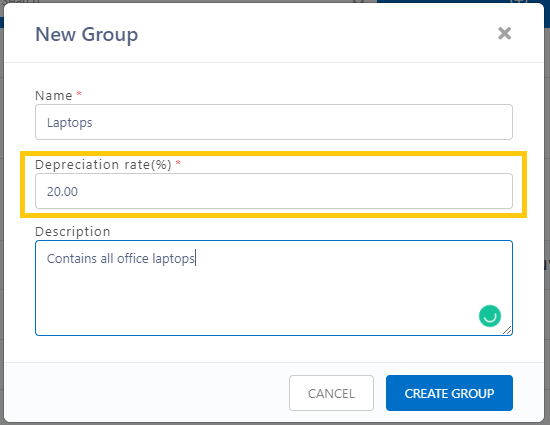
Once you click this button, the following overlay appears:
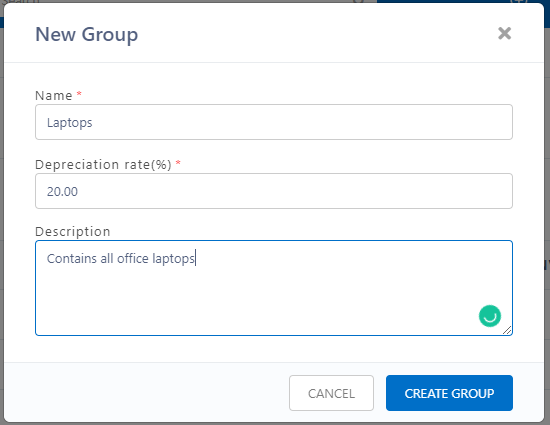
Once you’re done adding all the relevant information, don’t forget to hit ‘Create Group’.
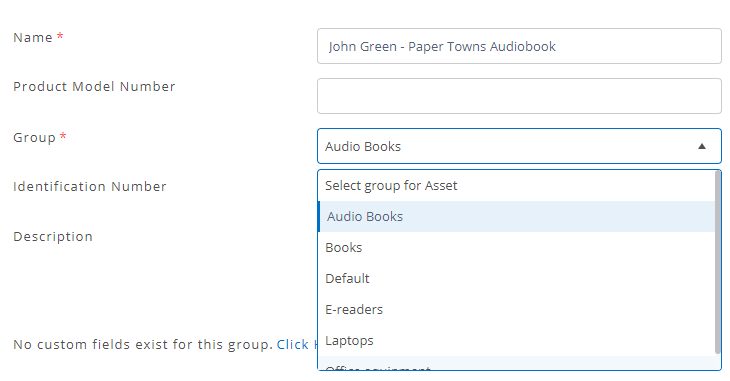
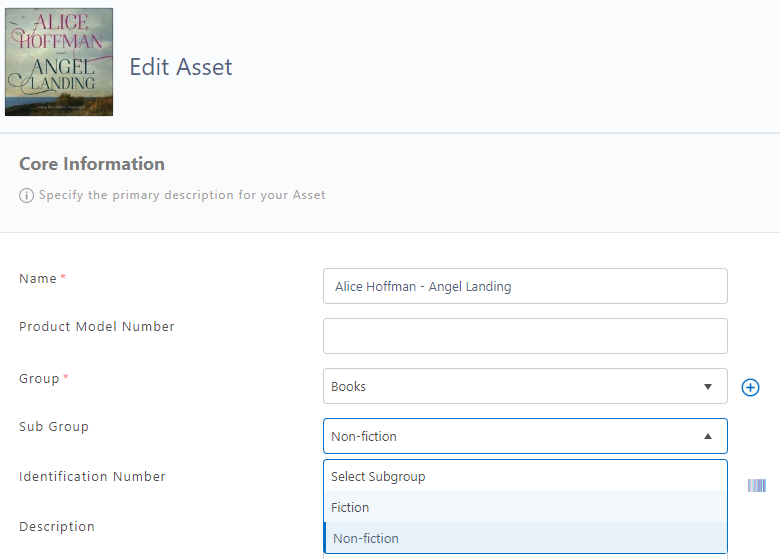
You can associate items to that group when adding/editing an item. To do so, go to the relevant Asset Details page. There, click ‘Edit’ and choose the Group you want to assign to the item:
You can also assign items to a Group directly from the Group Details page.
Click on the ‘Groups’ icon from the side navigation bar and then open the relevant Group. From the Group Details page, go to the Assets tab (or Asset Stock and Inventory depending on what you want to associate with the Group). Then click on the ‘Add Asset’ button which let’s you add a new Asset to the system and associate it with the particular Group.

These items can also be associated with a subgroup of a group. To create a subgroup, go to Groups → Group listing page → Select a Group → Click ‘Add Subgroup’ button from the right.

To assign assets to groups or subgroups, go to the item details page from Items → Assets → Select an Item → Click ‘Edit’. You can also associate groups to items when adding new items in the system. The same method can be applied to asset stock and inventory items.
Note: Each item can only be assigned to one group and subgroup at a time.
Have you checked out the nested subgroups in EZOfficeInventory? Click here to learn more about nested subgroups.
Changing the Group of Multiple Items Simultaneously
There are two ways to change the group of multiple assets simultaneously:
1. You can update the group of multiple items using an excel import. To learn more about how to do this, click here.
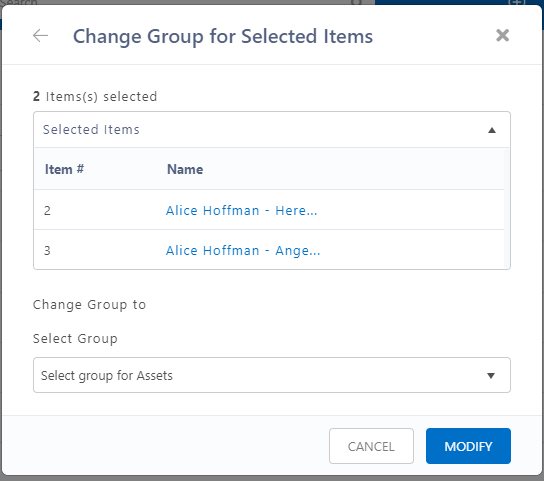
2. Change the group using mass actions. To do this, go to Items → Assets → Select multiple items → Click ‘Actions’ → Edit → Change Group.
3. The following overlay appears, where you can select the new group for the chosen Assets:
Defining Depreciation Rate for Groups
The percentage of depreciation that takes place on assets per year is defined at the group level. If you have depreciation for Assets enabled, from Settings → Add Ons → Asset Depreciation, then you will need to enter the depreciation (%) per year when creating/editing a group.
The depreciation rate is applied to all the Assets in the group and related subgroups. To learn more about how depreciation is calculated, click here.
Assigning Groups to Custom Fields
Sometimes it’s important to track specific information for assets, like the serial number or the warranty expiration date of assets. To track this information for each item, our asset tracking software allows you to add custom fields to items.
However, for cases where you would want a custom field to show for some items and not others you can assign custom fields to specific groups. For example, if you have a group called ‘Laptops’, you can set up a custom field named ‘Software License Expiration Date’ that only shows for items in that specific group and not for items in any other group.
To do this, go to More Options → Custom field → Add/Edit Custom Field. From the custom field overlay, under ‘Group Association’ section, select the groups that you want to associate your custom field to.
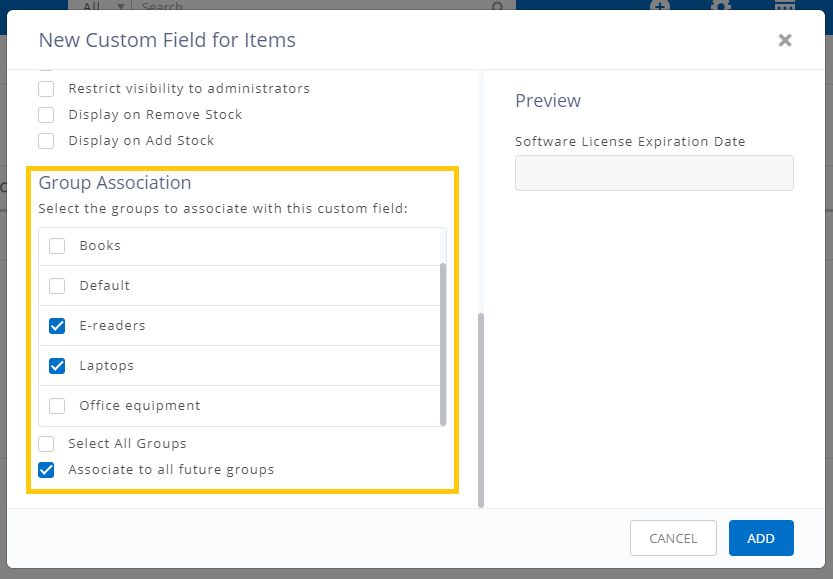
When associating custom fields to groups you can check the option to ‘Associate to all future groups’. This will make the custom field automatically available to all the items assigned to any new group that is created in the system. To learn more about setting up custom fields, click here.
Sorting and Filtering Items by Group
Assigning items to groups helps in sorting and filtering items for better lookup. You can use groups to filter and sort through items on the item listing pages, reports, and the availability calendar.
Sort Items by Group in the Item List View
To sort items by Group on the Item list view, do the following:
- Add a column to view the Group of the Items listed. To learn how to customize the item list view, click here.
- Once you have added a column for groups, click on the column name ‘Group’ to sort the items according to their groups:

Filter Items by Group in the Item List View
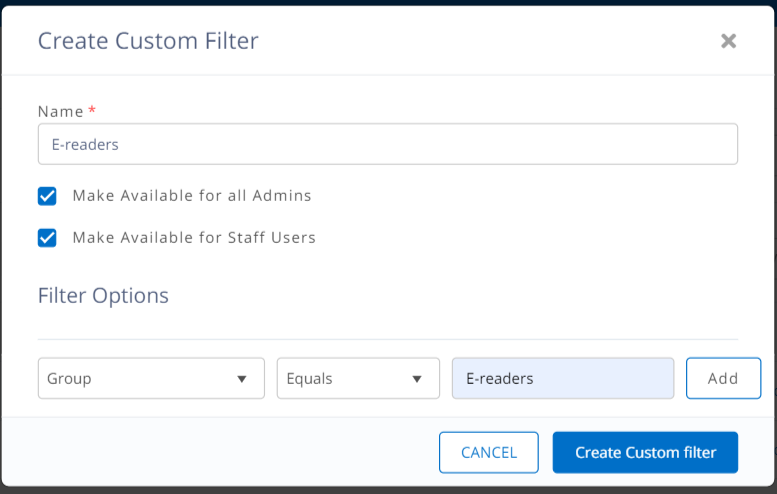
To filter items by group on the item list view, go to Items → Assets → Click the Filter drop-down → Click ‘+ Add/Edit Filters’.

From the overlay that opens, click on ‘+ Create New Filter’ Customize your requirements under ‘Filter Options’ → Hit ‘Add Filter’. This opens up the following dialog box where you can create a custom filter note. You can also create filters that will display items on the basis of subgroups:
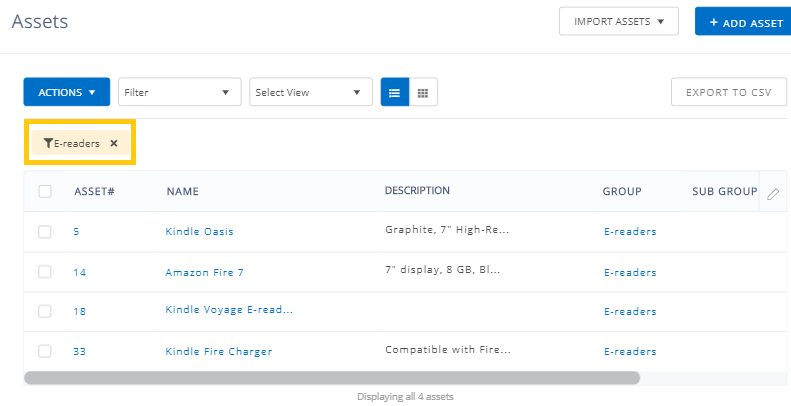
To apply a custom filter to your item list view, click the ‘Filters’ dropdown on an item’s list view and select your preferred Custom Filter. For example, if you apply the custom filter ‘E-readers’ shown above, you will get the following list view, which only shows Items in that filtered group:
Note: The same process can be used to apply filters to Asset Stock and Inventory items.
Filter Items by Group in Reports
You can filter your reports to only include assets belonging to, or not belonging to certain groups or subgroups. To do this, simply go to Reports → Select a report or graph (that supports ‘Group’ filter) → Set the filter to include the group you need. Given below is an example of how you can filter checked out items by group or subgroup in Asset Reports. To learn more about item reports, click here.
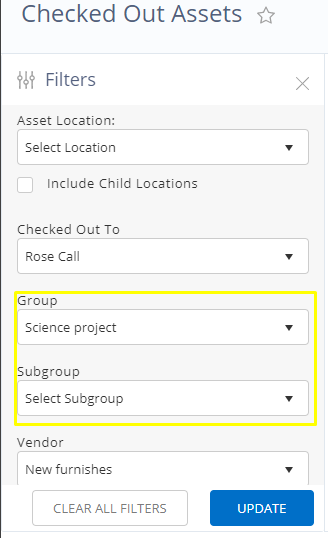
Note: If you select a filter for both a group and subgroup, only those items present in both the group and subgroup will be included in the report.
Filter and Sort Items in the Availability Calendar
You can also customize the view of the availability calendar according to groups. You can access this calendar by clicking on the calendar icon shown at the top in the app.

To customize the calendar view, you can either choose to combine your items by group and/or filter your items for certain groups. If you combine items by group, you will get an overview of how many items in that group are overdue, checked out, reserved, under maintenance and available, with the dates. To combine items by group, go to the drop-down ‘Group by’ (on the top left) → Select ‘Group’.
To filter items by group i.e. only show items of a certain group, click on ‘Filter by’ dropdown (on the top right) → Select ‘Group’ → Select group name. You can further customize the filter by selecting a subgroup as well.
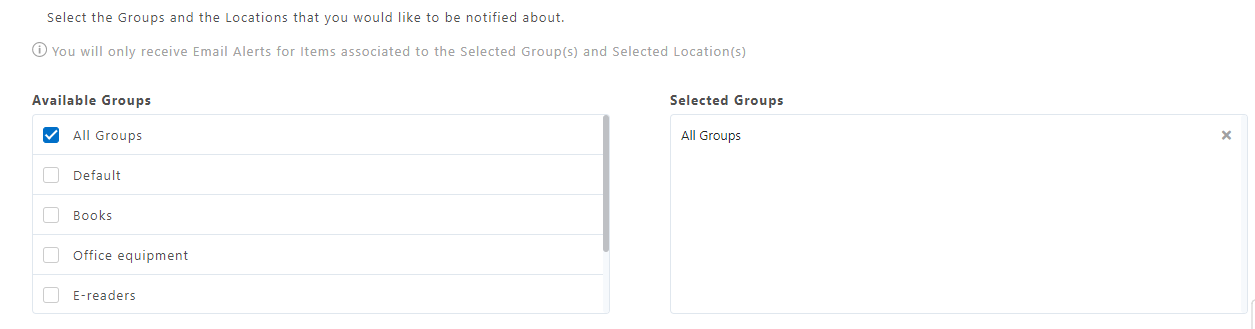
Setting up User Alerts by Group
Users can set up alerts in such a way so as to be notified only for actions or events on items in certain groups. To do this, go to More Options → Alerts → under ‘Select the groups and the locations that you would like to be notified about’ → Select groups. This will ensure that you only receive email alerts for items present in your selected groups. To learn more about the types of alerts in our asset tracking software, click here.
Attaching Documents to Groups
Rather than attaching certain documents for each item in a group separately, you can attach the documents to groups and make the process smoother. Attaching documents to a group will make the documents available to all items present in that group. To do this, go to Groups → Select a group → scroll down to the Files tab → Group Documents → Attach File.
Reports on Groups and Subgroups
You can also run a report to get a summary of the number of total assets, checked out assets and subgroups in a group. To do this, simply go to Reports → Group Reports → Group List. Similarly, you can also generate a report for subgroups from Reports → Group Reports → Subgroup List.
Have Feedback About our Asset Tracking Software?
EZOfficeInventory is the leading asset tracking software used by SMBs all over the globe.
For more assistance, drop us an email at support@ezo.io.


