
You can easily track and manage inventory using EZOfficeInventory. There are three types of items you can add here: assets, asset stock and inventory. Inventory items are consumable items that are not returned once they are checked out. For this reason, only the stock level or quantity of each inventory item is tracked. To track inventory items with our inventory control software, go to Settings → Add ons → Inventory Module → Enabled.
Note: This is the first part to our guide on tracking items. For more features, read the second part.
1. Adding Inventory Items
Before you can start tracking inventory, you first need to add your inventory items into the software. To add an inventory item, go to Items → Inventory → Add Inventory. This button is also available on the dashboard. Here you can record all the details that are specific to the inventory item including item Name, Identification Number, Group, Product Model Number and so on.
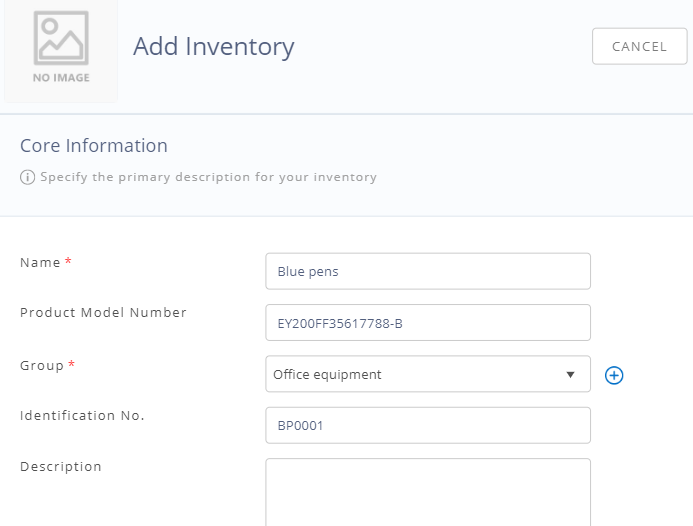
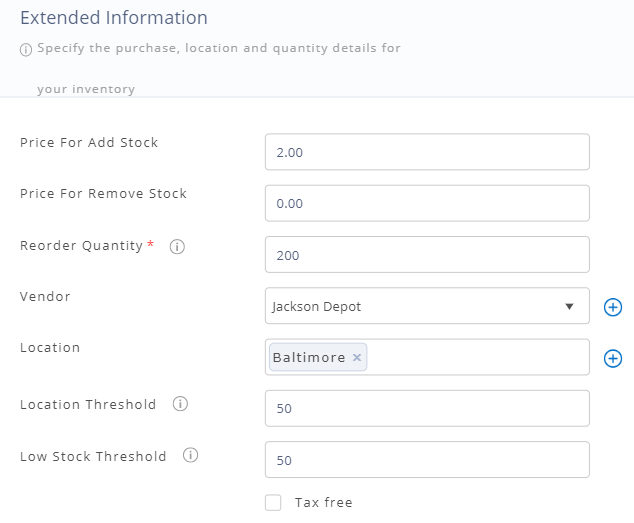
You can also record vendor details (Vendor), purchase price per unit (Price For Add Stock), price per unit for removal (Price for Remove Stock), location (Default Location) and set minimum stock quantities (Low Stock Thresholds and Location Threshold).
To record additional details like serial number and expiration date you can create Custom Fields. These fields can be made mandatory at create/edit event and even trigger alerts at the dates specified. Custom Fields can be created from More → Custom fields → Add Custom Field. To learn more about Custom Fields, click here.
Additionally, you can associate documents and images with inventory items and add comments. To associate documents to inventory items go to, Items→ Inventory → Select an Item → Scroll down to the Files Tab → Attach File.
1.1. Adding Items via Scanning
EZOfficeInventory allows you to print new barcodes for your inventory items. In case your items already have barcodes printed on them you can scan them to add new inventory items. To do this, go to Items → Inventory → Add Inventory via Scanning.
1.2. Adding Items via an Excel Import
You can add multiple inventory items into EZOfficeInventory using an excel sheet, from Items → Inventory → Import Inventory → Add New Inventory. To learn more about excel imports, click here.
2. Printing Labels for Inventory Items
An important aspect of inventory control is labeling inventory items. EZOfficeInventory allows users to generate new labels for their inventory items as well as use the existing barcodes on their inventory items. Inventory items have one unique label that is pasted on all its stock items. This barcode or QR Code label can be scanned to bring up the inventory item and take actions like add or remove stock.
2.1. Printing New Labels
Before you can print barcodes you must specify an ‘Identification Number’ for your items. This number is used to uniquely identify items and is used as their barcode number. In case of QR Codes, you do not need to enter an identification number for your inventory items. To learn more about the identification number, click here.
To print labels go to Items → Inventory → Select Inventory Item → Print Label and then specify the number of copies you want to print. You can also print labels for multiple inventory items from Items → Inventory → Check Inventory Items → Actions → Print Label. To learn more about mass printing labels, click here.
Note:In order to print barcodes you will first need to create a custom print label template from More → Printout Templates → Label → Add Print Label Template. To learn more about customizing email templates, click here.
2.2. Using Existing Barcode Labels
If you already have barcode labels printed you can simply enter their barcode numbers in the ‘Identification Number’ field on from Items → Inventory → Select Inventory Item → Edit. Once the barcode number is recorded the software will recognize the barcodes upon scanning allowing you to easily scan and take actions on items.
An easy way to add the identification number is though scanning. To do this simply configure your external barcode scanner and scan your barcode number into the ‘Identification Number’ field or use our mobile app. To learn more about adding existing barcodes using the mobile app, click here.
3. Managing Stock Locations
Location management is pretty deep in our inventory control software. You can use the software to create multiple locations and sub-locations. For example, a location New York may have a sub-location Warehouse_1 and that in turn may have sub-locations like Section_A, Shelf_001. This type of location tagging makes it quick and easy to locate items. Each inventory item only has one Default Location but can have multiple Stock Locations.
3.1. Default Location
This is the location at which your initial stock quantity is added at the time of creating an inventory item from Items → Inventory → Add Inventory. This location is also used as the default location when taking actions like add, remove, reserve or transfer or stock.
For example, if you add stock to your inventory item, the field location will be automatically populated with your default location and stock will be added to that location. You can easily change this location.
The default location is also the location that is used when you add inventory items to a cart.
3.2. Stock Locations
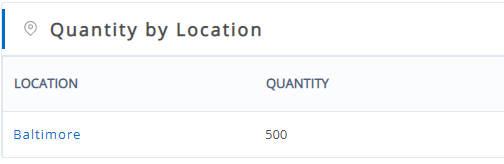
Different quantities of an inventory item may be spread out across locations, for example Warehouse_01 may have 200 boxes of ‘Disposable Plastic Cups’ and Warehouse_02 may have 100 boxes. In such cases tracking inventory by its specific location is important. You can check the total quantity available of an item at different locations from Items → Inventory → Select Inventory Item → Quantity by location.
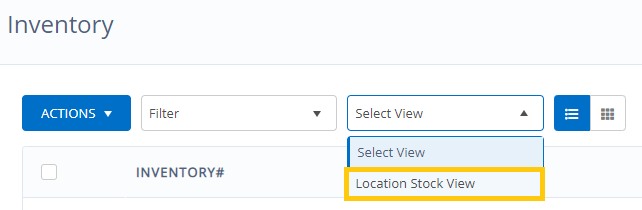
You can also change the way assets are listed on the asset detail page by using the ‘Location Stock View’ button on the top left. This will show stock quantities by location instead of showing one total quantity per item. For more information on this, click here.
To learn more about location management, click here.
4. Actions on Inventory
4.1. Add Stock
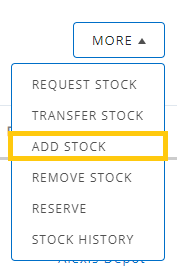
Administrators can add inventory stock using the action buttons on the right of the inventory detail page. To add stock go to Items → Inventory → Select Inventory Item → More → Add Stock. This will open an overlay which will prompt you to add the quantity, per unit price, location for stock to be added to, vendor name and the name of the member who has made the order request.
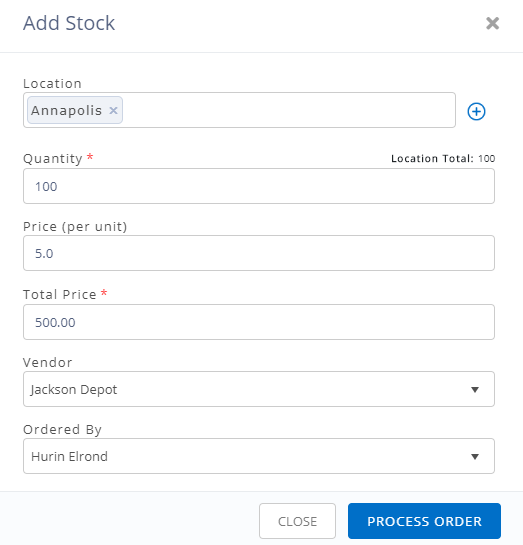
The ‘Price per unit’ is automatically populated by the value specified in the ‘Price for Add Stock’ field on inventory detail page. You can change this value if you need to. You can also add the ‘Total Price’ of the quantity ordered and the system will automatically calculate and change the ‘Price per unit’.
Staff users can also be allowed to Add Stock to Inventory from Settings → Add Ons → Inventory module → Check ‘Allow staff users to add stock.’
4.2. Request Stock
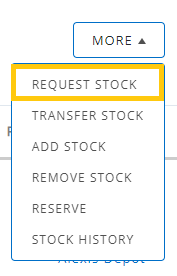
An admin can give staff users the option to ‘Request Stock’, from Settings → Add Ons → Purchase Orders → Check ‘Allow staff users to create purchase order requests for Administrators to review and replenish stock’. When creating a stock request, staff users can identify a delivery location. They can also add the request to an active purchase order or create a new one by hitting ‘Send Request’. An administrator can then approve/deny these requests from the Notification Bell → Purchase Orders. Learn More
To learn more about the types of members in EZOfficeInventory, click here.
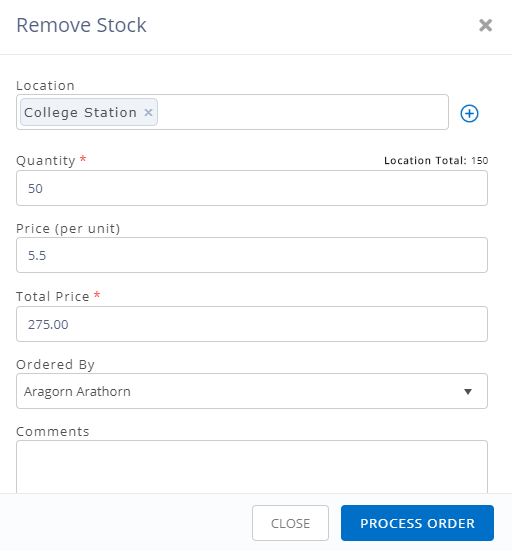
4.3. Remove Stock
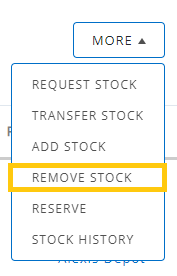
Stock can be removed whenever it’s checked out or sold. Remember that inventory is never checked back in. To remove stock from an inventory item go to Items → Inventory → Select Inventory Item → More → Remove Stock. The following overlay will appear, and require you to specify the location from which you are removing the stock and other details.
4.4. Transfer Stock
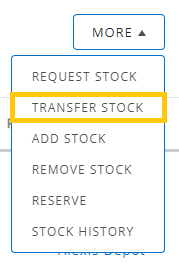
In addition to removing stock from inventory, members can also transfer stock. This comes in handy when moving stock from one warehouse to another or simply changing the location of stock within a warehouse. To transfer inventory stock between locations go to Settings → Add ons → Transfer of Inventory → Enabled. Then go to Items → Inventory → Select Inventory Item → More → Transfer Stock.
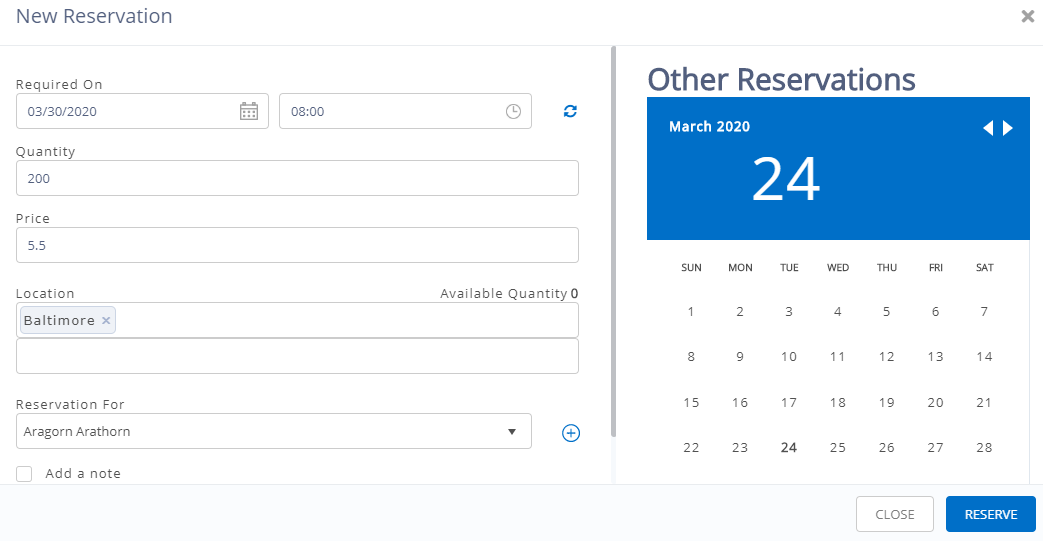
4.5. Reserve Stock
You can reserve stock for consumption at a later date from Items → Inventory → Select Inventory Item → More → Reserve. Use this to ensure that the required stock quantity is available at a specific time. You can also ensure that reservations on inventory items do not conflict with each other from Settings → Company Settings → Reservations → For Inventory → Check ‘Enforce conflict-free reservation for inventory’. To learn more about reservations, click here.
4.6. Adding Stock to Multiple Inventory Items
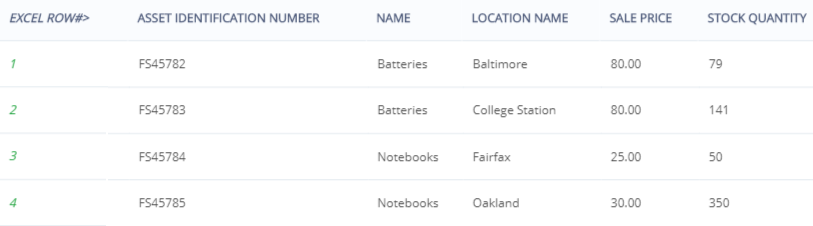
You can add stock for multiple inventory items at the same time through an Excel import. To do this go to Items → Inventory → Import Inventory → Update Existing Inventory. You can then upload an Excel sheet with details of the new stock, and the locations to which it will be added.

You will then be asked to map your columns to fields in EZOfficeInventory. If everything looks good, you can go ahead and click Import. This will allow you to add stock to multiple locations instantly.
Have Feedback about our Inventory Control Software?
EZOfficeInventory is the leading inventory control software used by SMBs all over the globe.
For more assistance, drop us an email at support@ezo.io.


