
You can use our asset tracking software to see the availability of items using the availability calendar. This allows for smooth reservations and checkouts, every time.
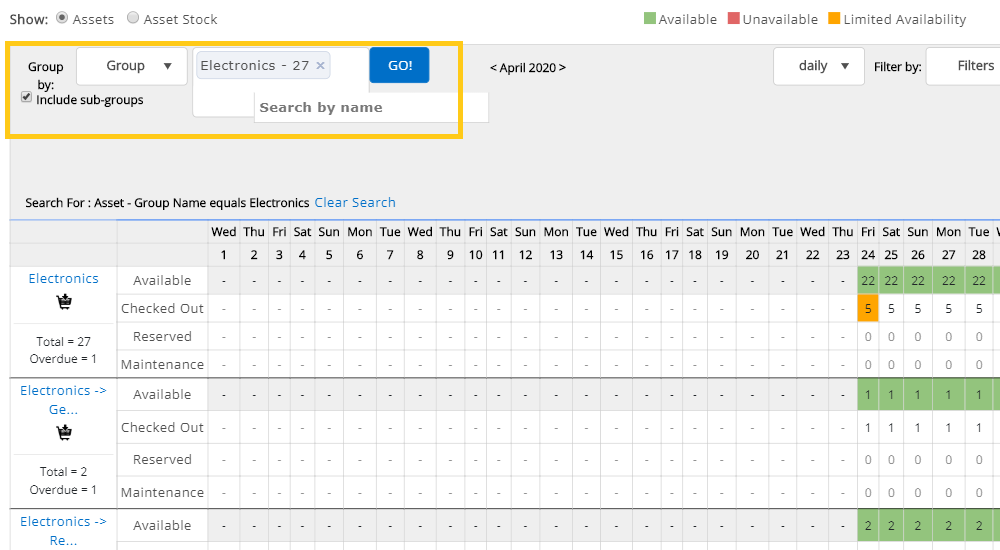
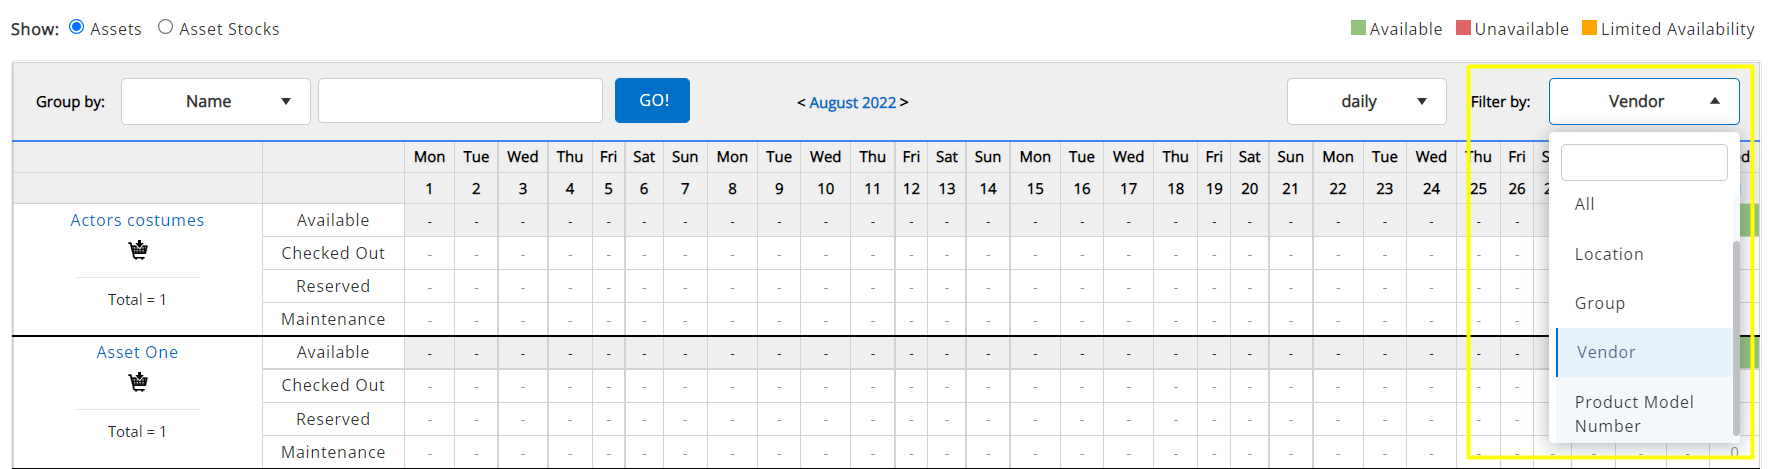
The availability calendar is highlighted in yellow below:
In this post, we’ll take you through the main components of checking item availability.
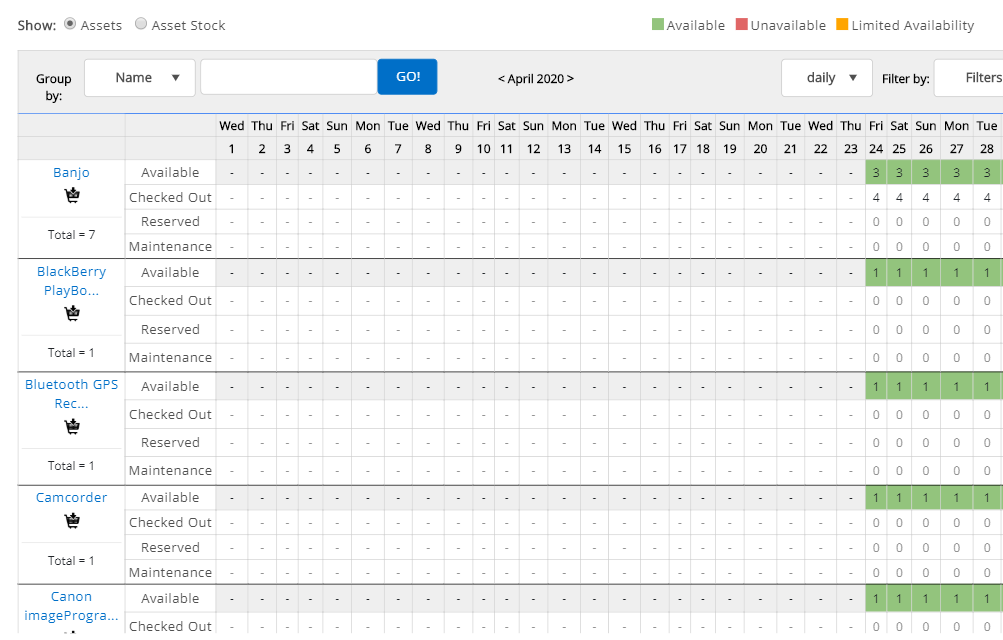
The availability calendar is shown below. It shows the status of all the items in the system so you can plan out asset utilization accordingly. You can also group and filter this data in different ways to make the most out of availability information. We’ll describe this in the sections that follow.
1. Choose Item Type
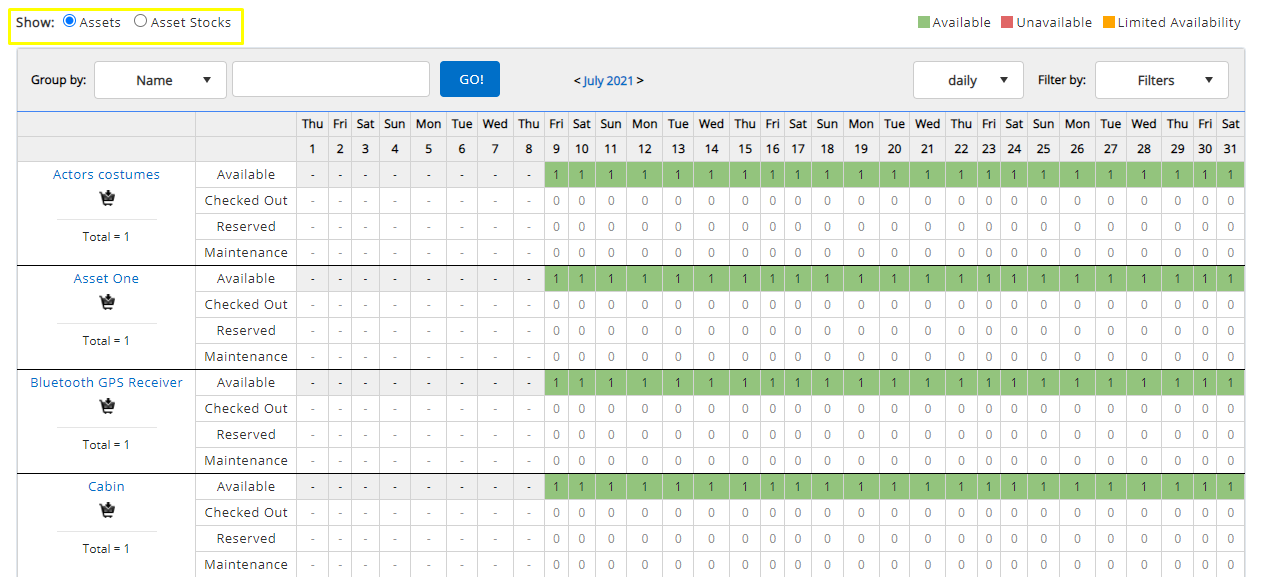
First, choose whether you’d like to check availability of assets or asset stock by choosing between the radio buttons below.
2. Group Items
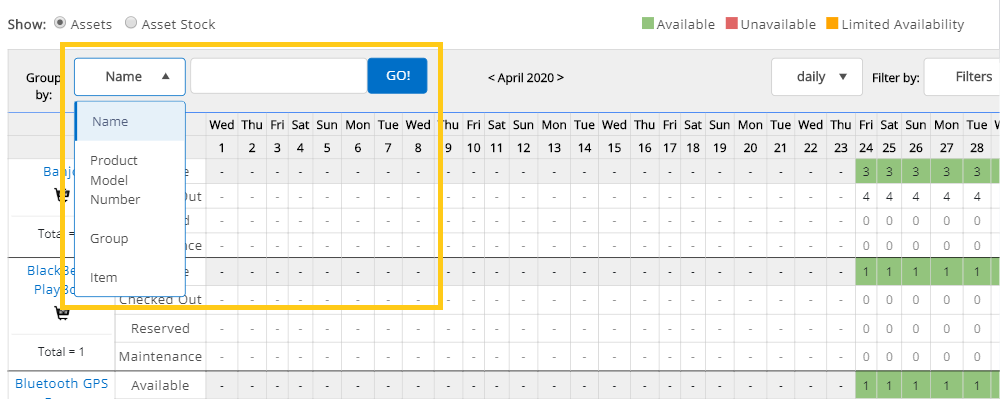
Here, you can choose to group items by Name, Product Model Number, or Group, depending on how you’ve set up your items and what would be easiest to sift through.
You can choose a category and have the system bring up a specific element by typing in the name in the field below. For example, the configuration below will show you the availability of all items from the group ‘Electronics’.
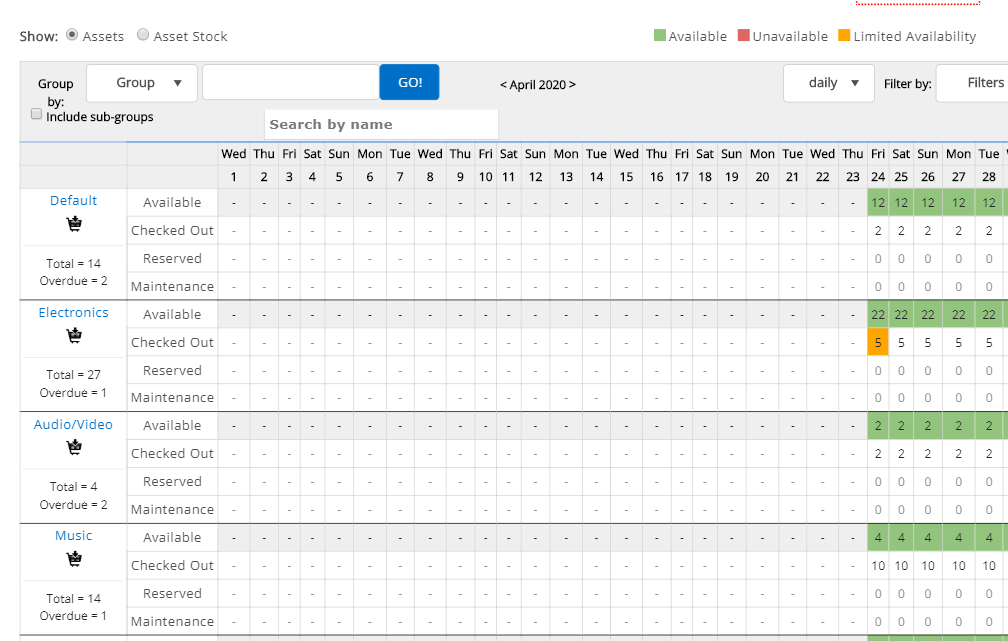
If you don’t choose a specific element, you’ll be shown all items from the category chosen. Below, availability is shown for all the Groups you’ve set up in EZOfficeInventory.
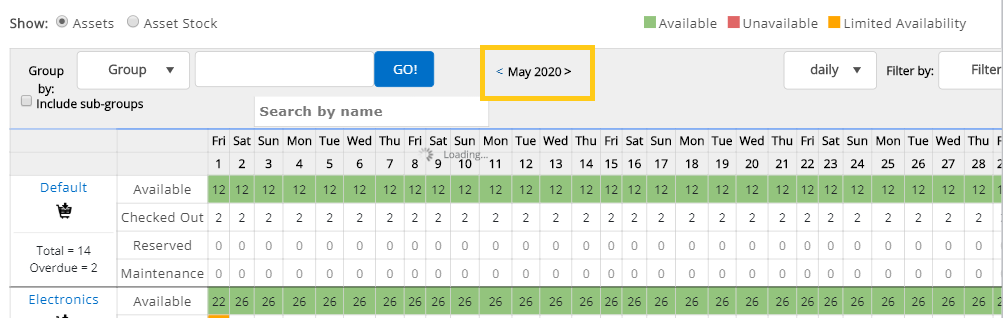
3. Sift Through Dates
You can also sift through present or future months, as shown below. This is a quick way to bring up an item’s status further down the road.
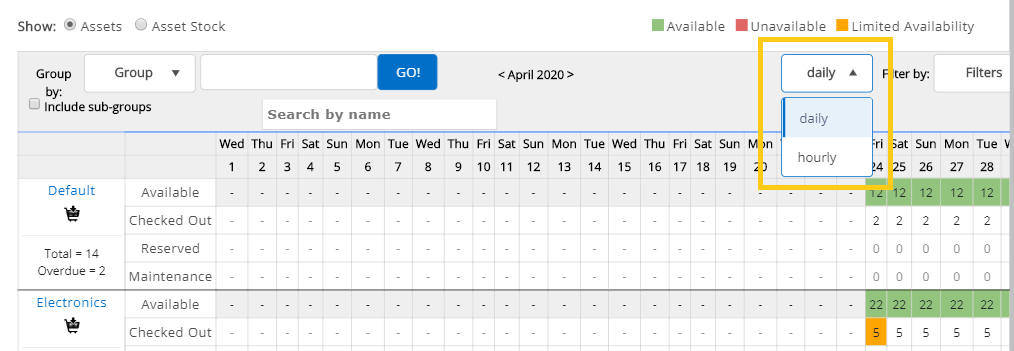
4. Set Calendar to Hourly or Daily Views
Set the calendar to show daily or hourly views, depending on what you’re looking for.
5. Filter Items
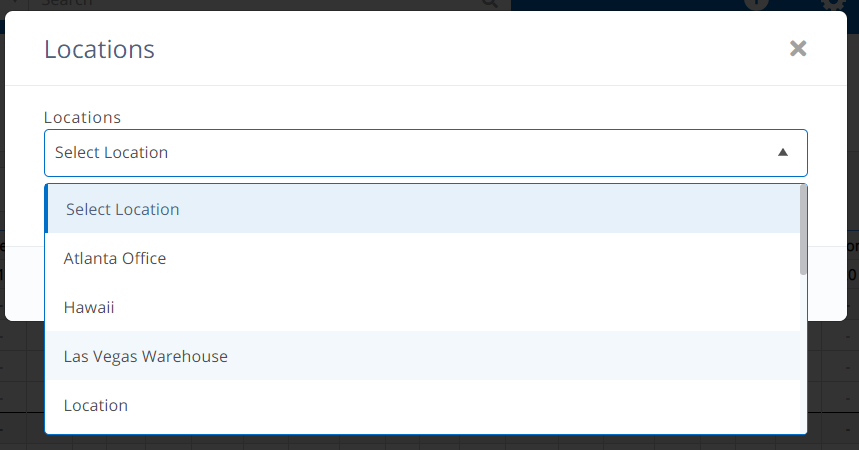
You can check availability for all items, or those belonging to specific Locations or Groups.
Here, we’ve chosen to show items from one main location, and have also checked the option to see items from all its child locations.
6. Check Item Status
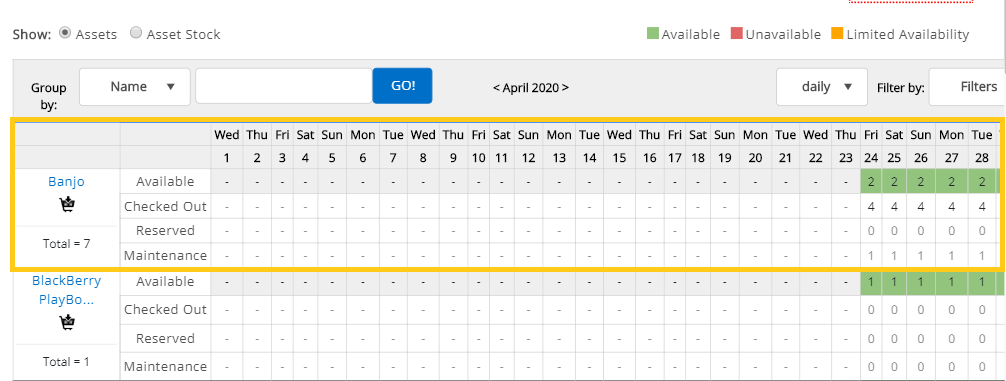
Now that you’ve set up which items you want to see the availability of, you can scroll down and see the items’ status. You’ll get a few different data points.
- Total Items: The total number of a specific item you have on file.
- Overdue Items: All items that are due for return.
- Available Items: Items available to be checked out.
- Checked Out Items: The number of items that have been checked out.
- Reserved Items: These are items that have been reserved for that period.
- Items Under Maintenance: Items that are being serviced.
7. Take Actions on Items
You can also add items to your cart directly from this page by clicking the cart icon highlighted below.
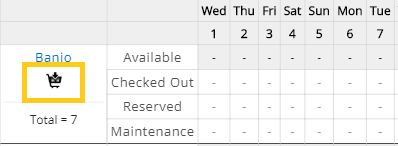
Clicking the cart icon opens up an overlay where you’re asked how many of that item you wish to add to the cart. If you don’t mind adding unavailable assets to the cart, leave the checkbox below blank.
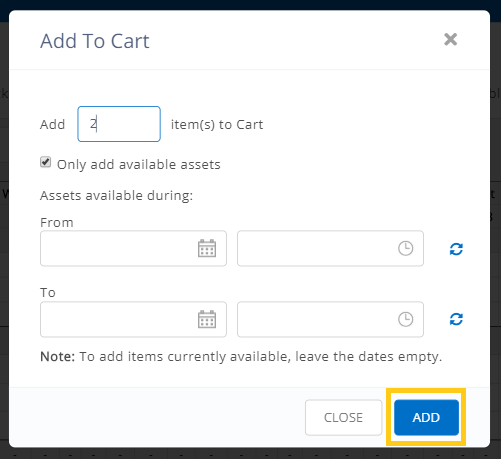
Note: Overdue items are treated as ‘Available’ by the system. This means you will be able to add them to a cart if you’ve checked the option for available assets, even though they are yet to be returned.
With these steps, you should be able to look up item availability for smooth checkouts and reservations with both speed and ease.
Have feedback about our asset tracking software?
Like all newly-released features at EZOfficeInventory, we look forward to your feedback on improving our equipment tracking software so that it adds greater value to your operations.
For more assistance, drop us an email at support@ezo.io.


