
Bundle items together to reserve and check out with ease and speed. A bundle is a flexible combination of items, which acts like a check out list. It is used to optimize checkouts based on asset characteristics and availability. Enable bundles from Settings → Add Ons → Bundles.
A different feature, Packages can be used to clamp together set of assets such that they are always checked-in/out together. Learn more on Packages.
1. When to use Bundles
Bundles are used to combine different items that are regularly checked out together. For example, if (any) 2 DSLR cameras, 2 tripods and 3 lens cleaning solutions need to be assigned on a ‘beach photoshoot’ engagement, then having this as a bundle will serve both as a checklist and a quick one-step process for their checkout. You need to have a cart enabled to use bundles. Enable Cart from Settings → Add Ons → Cart Module.
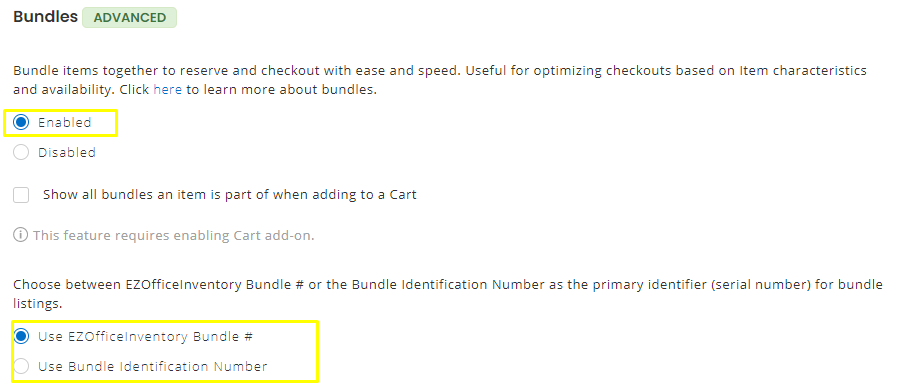
After this go to Settings → Bundles → Enable. Here you can also choose whether to use EZOfficeInventory Bundle # or Bundle Identification Number as the primary identifier.
2. Creating a new Bundle
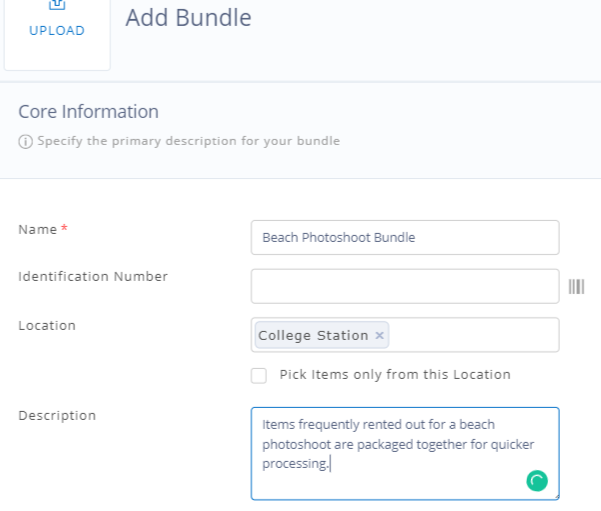
You can create a new bundle from Items → Bundles → Add Bundle. Fill in the data fields for bundle name, description and location. See image below:
Add Bundle Line: A bundle can have multiple line items based on the types of items needed; based on their name, their association to a group or a number of flexible options presented in the dropdown when choosing the type of bundle line (asset, asset stock, inventory).
Let’s implement the ‘beach photoshoot’ bundle that consists of 2 DSLR cameras, 2 tripods, and 3 lens cleaning solutions:
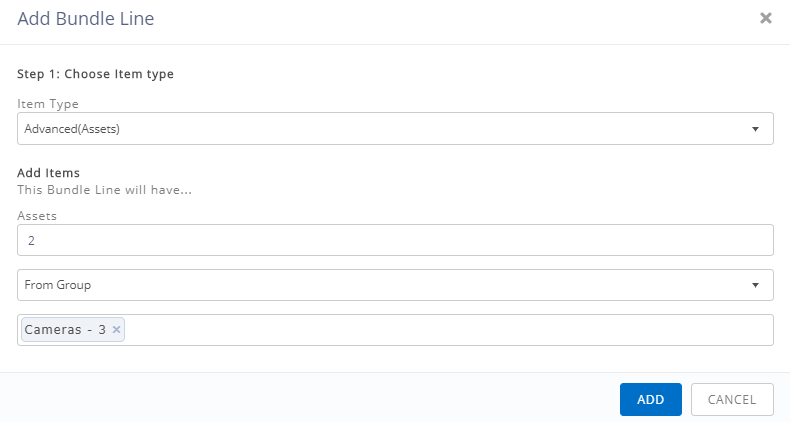
a. 2 DSLR cameras – We’ve set up our items such that there is a group called Cameras and all DSLR cameras are associated with it. We’ll use the ‘Advanced (Assets)’ in the type.
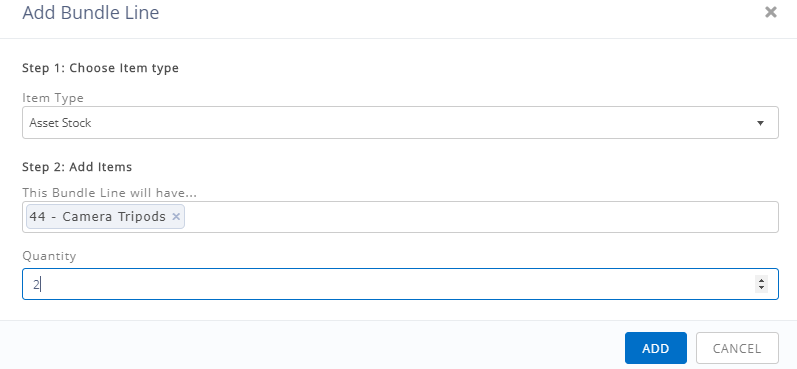
b. 2 tripods from asset stock – We’ll use the ‘Asset Stock’ in the type:
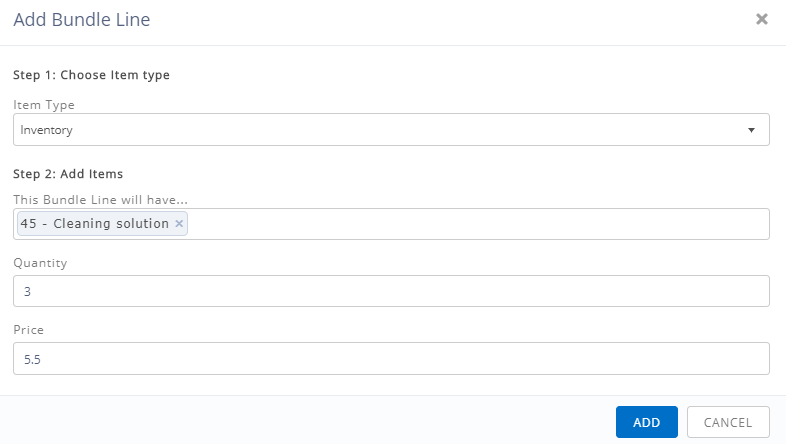
c. 3 cleaning solutions from inventory – We’ll use ‘Inventory’ in the type:
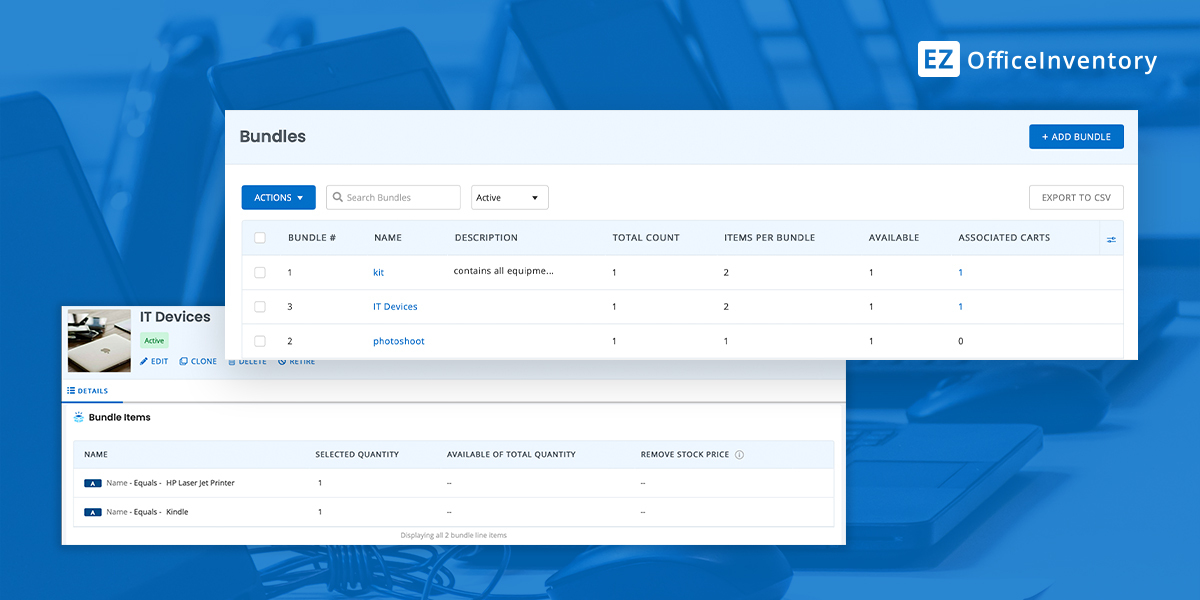
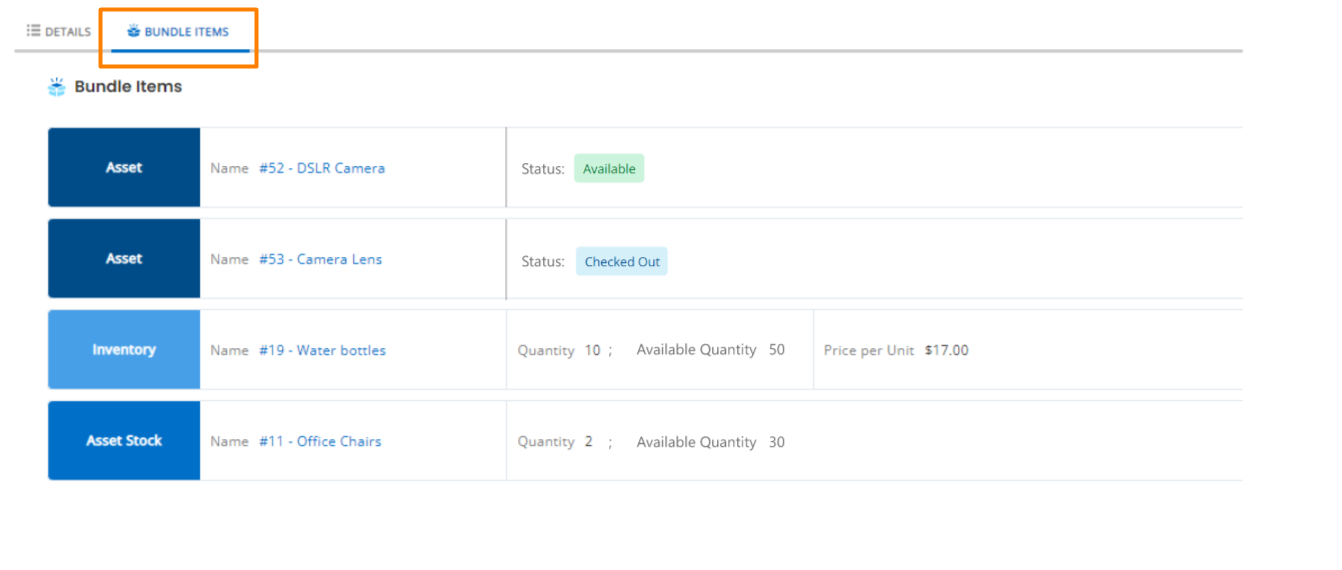
Once done, our bundle detail page shows a summary of the associated items. Click on the ‘Bundle Items’ tab:
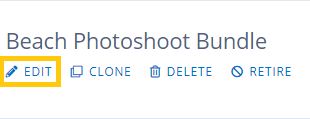
3. Editing a Bundle
You can edit a Bundle from its details page. To do this, go to More → Bundles → Select the Bundle you want to edit → Click the ‘Edit’ button.
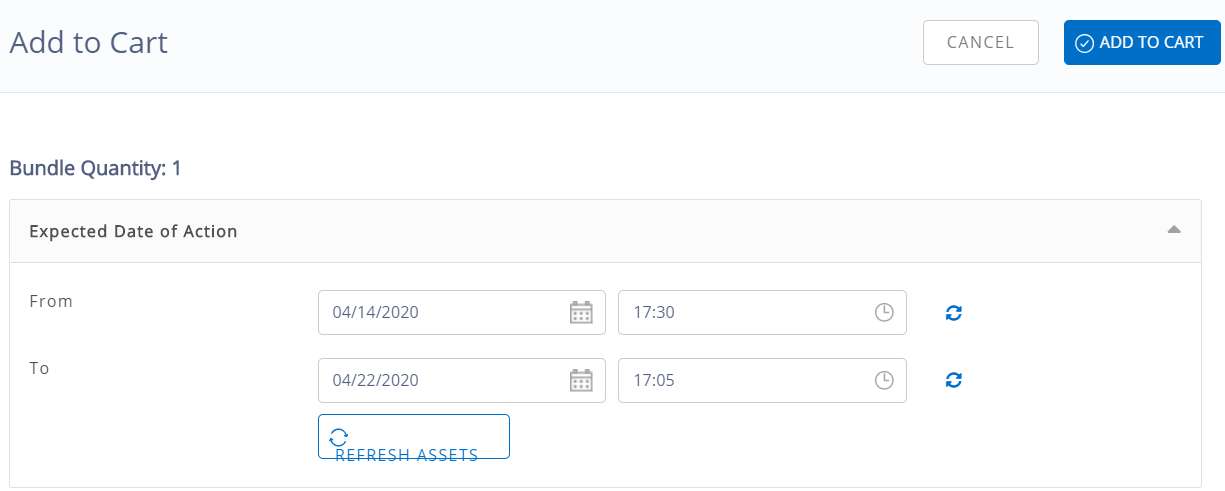
5. Adding a Bundle to Cart
Now that the bundle has been created, we can add it to the Cart from Bundle Detail page → Click ‘Add to Cart’ button. This action will identify the available assets, asset stock and inventory items from this bundle and add them to your Cart. Now whenever there is a Photoshoot scheduled, simply add the bundle to the cart to checkout or reserve.
Specified quantities will be pulled up from available items with a single click to be checked out or reserved for a Photoshoot.
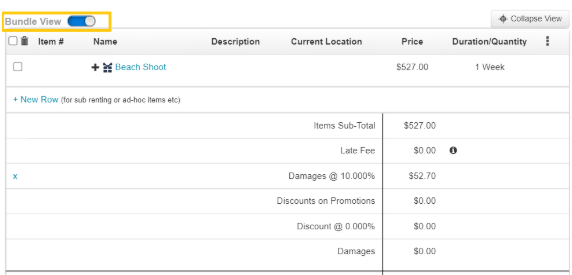
Once a bundle is added to your cart, you can toggle between the bundle and item view.
Here is what the Bundle View looks like in the cart:
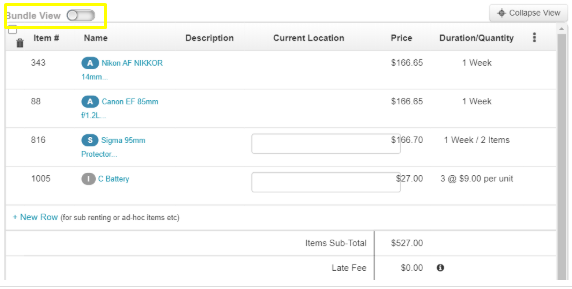
This is what the Item View looks like:
6. Removing a Bundle After Adding it to the Cart
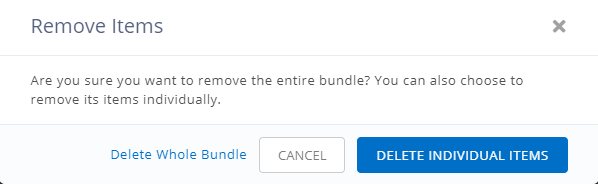
You can remove a bundle after adding it to the cart in pre-checked out states. Simply go to the ‘remove’ button for the bundle and an overlay will appear.
You can then choose to remove the entire bundle or individual items from the cart.
7. Bundles with Advanced Assets in Carts
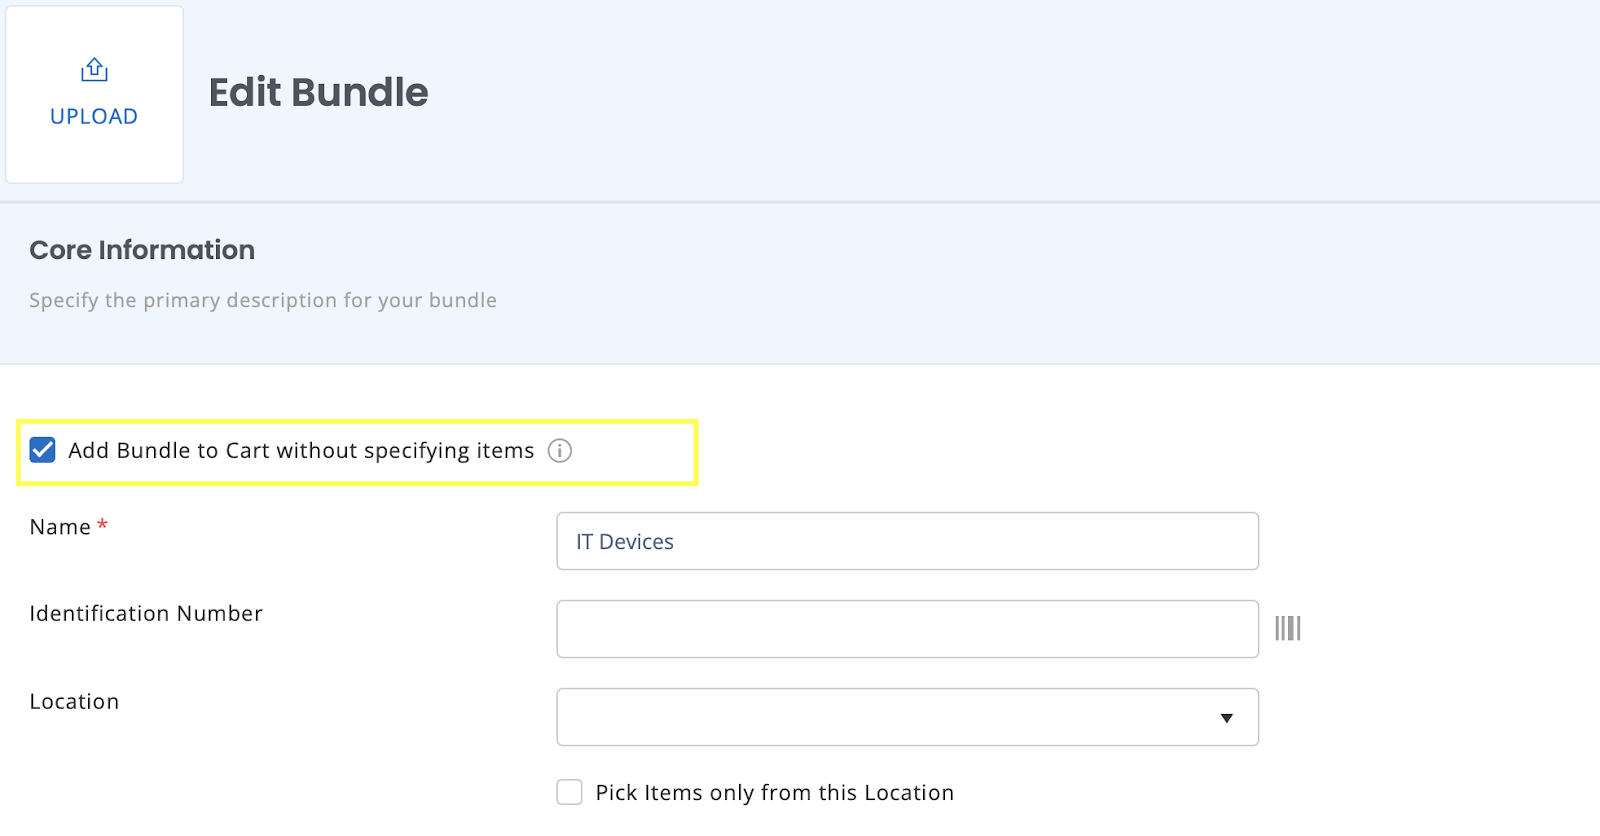
At times it is not possible to specify Asset AIN’s for advanced bundles when adding them to a Cart. To facilitate such situations, EZOfficeInventory enables users to add advanced bundles to Carts without selecting the Asset ID’s.
In order to do so, select the option “ Add Bundles to Cart without specifying items” when creating a bundle:
first create a bundle by selecting the Rule based setting when adding Items to bundle:
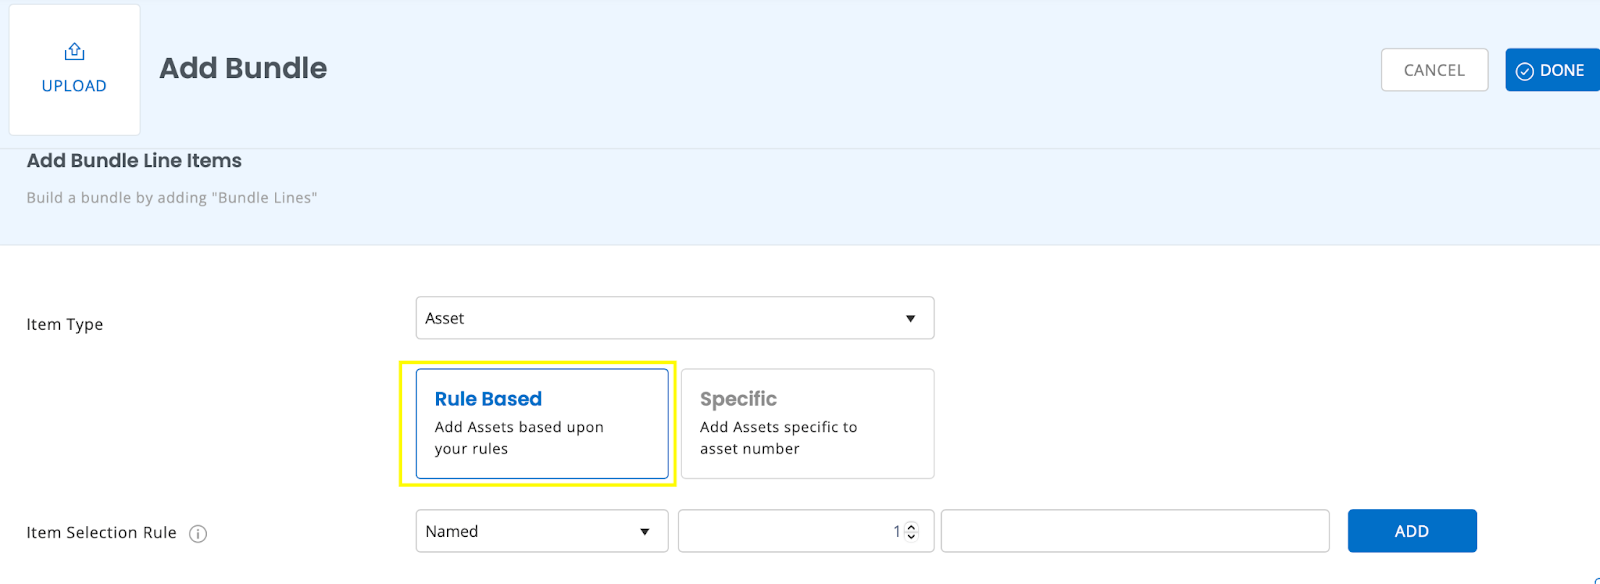
Note: Only bundles with rule based items will act as advanced bundles in the Cart.
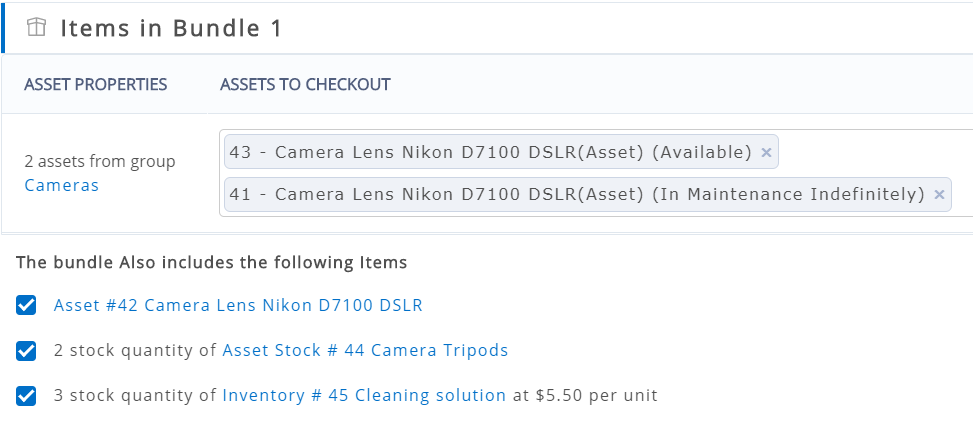
Add items to the bundle, and click done. Next you can add this bundle to the Cart. When adding the bundle to the Cart, you will not be asked to specify item AINs. After the bundle is added, then you will have the option to specify items.
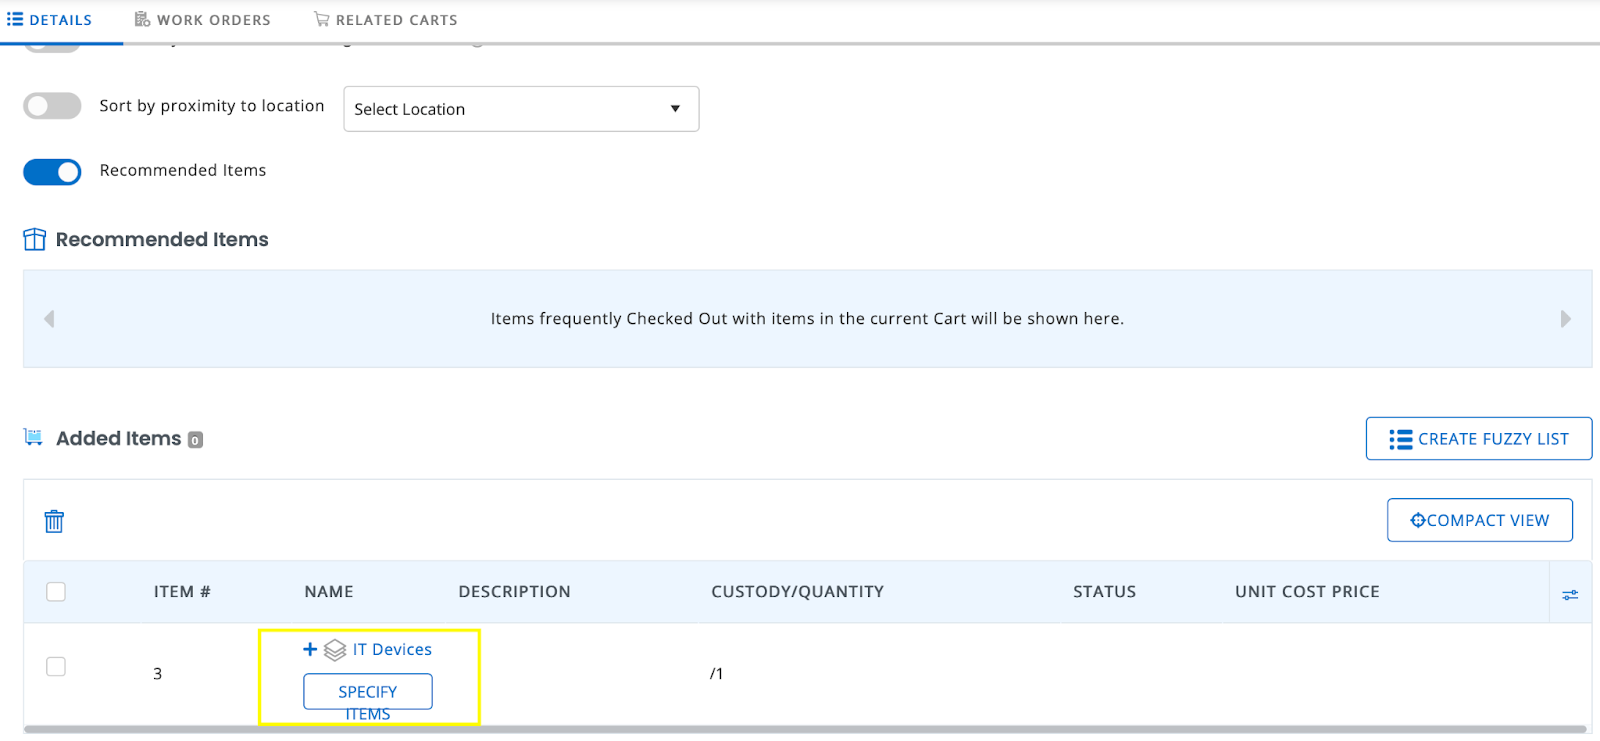
Click on ‘Specify Items’ and select the ones you want to add to the Cart:
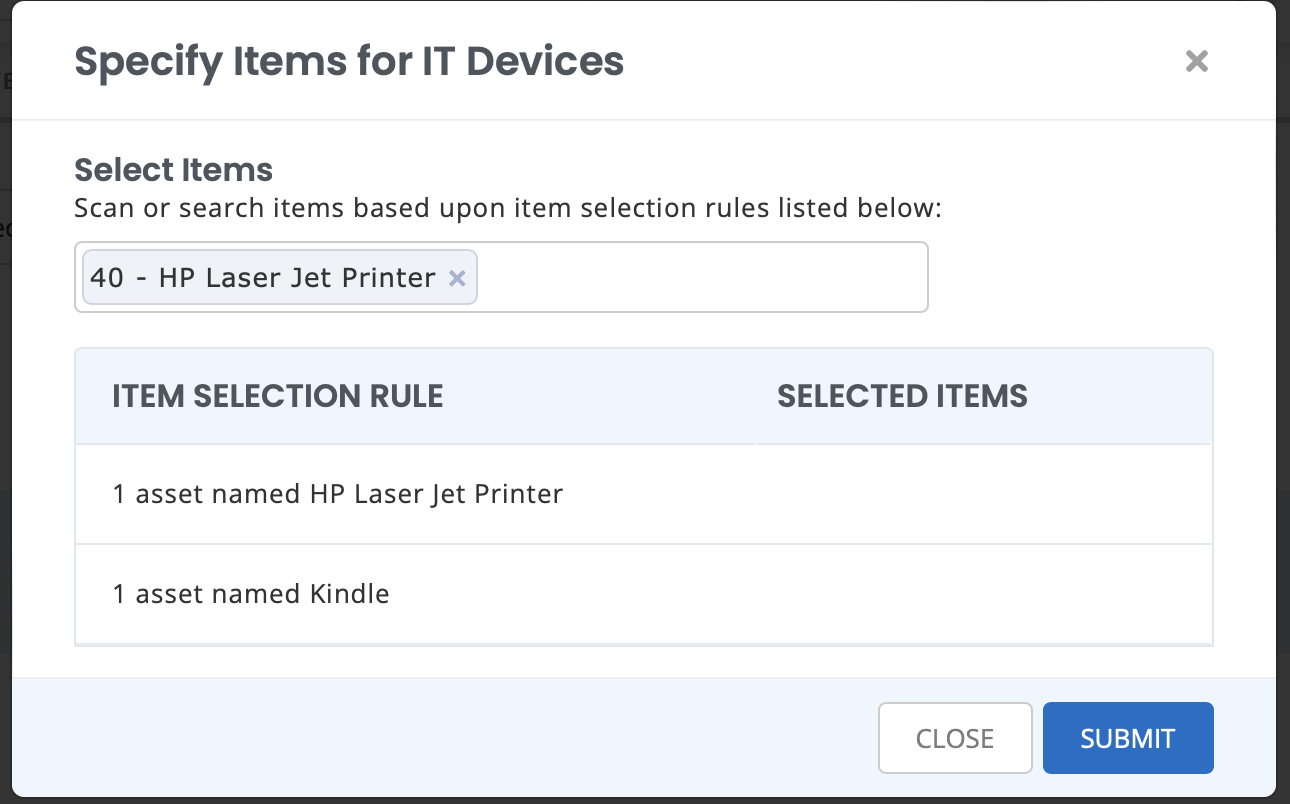
After specifying the bundle items for the Cart, you will be able to check it out.
8. Comments and Mentions
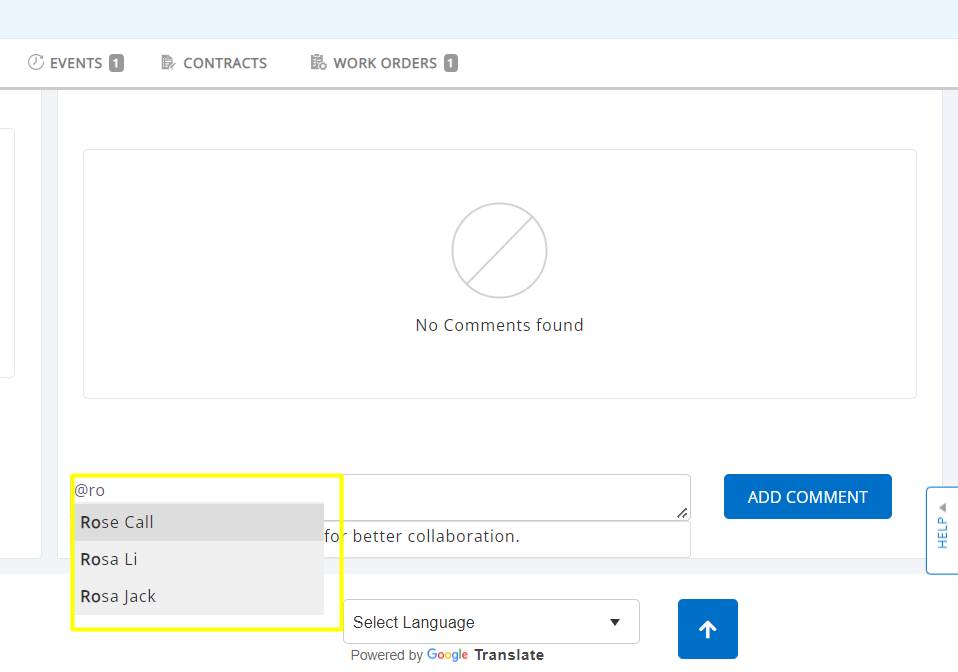
Users can now add comments with mentions at the end of the Bundle Details Page to notify other users of a certain action. To enable the settings, Go to Company settings → Add Ons → Mentions
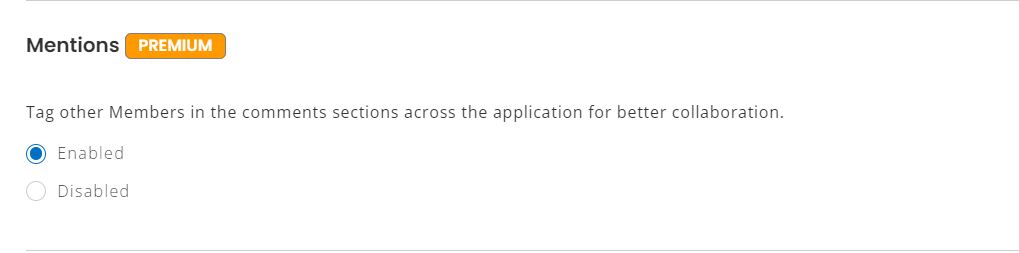
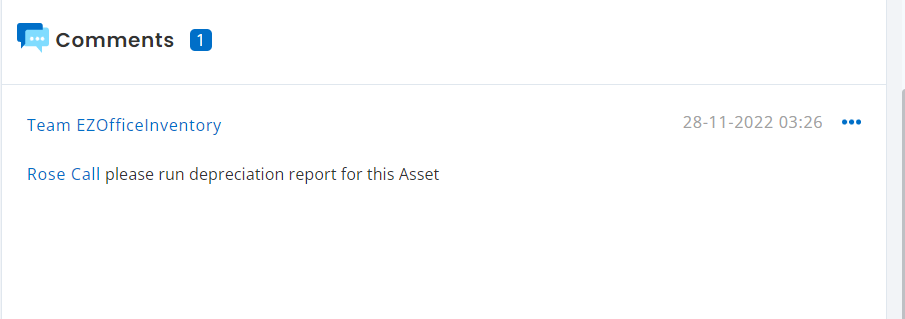
Once you enable the settings, you will be able to mention other users by typing @username.
Note: Mentions is applicable to all Assets, Asset Stock and Inventory.
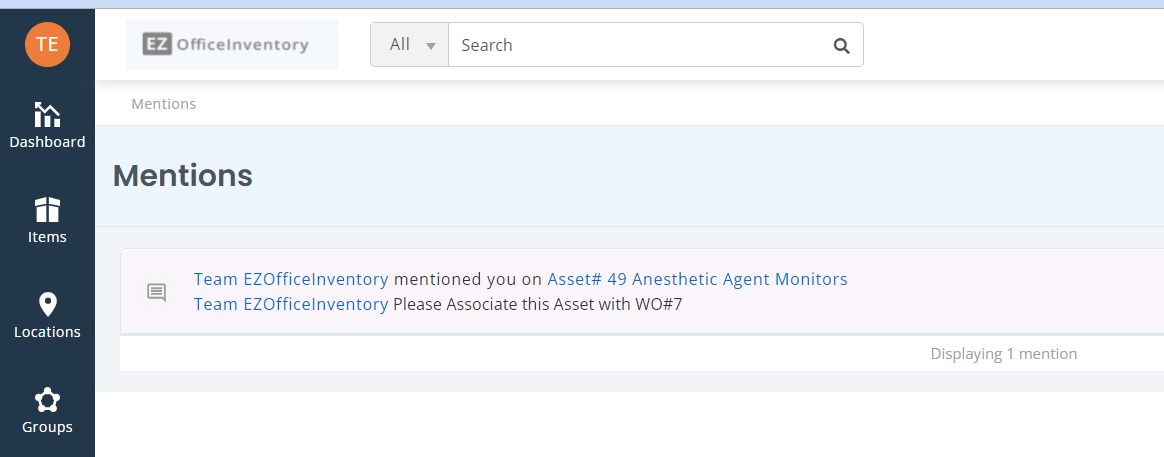
The user will be notified of the mention by clicking on the bell icon on the dashboard. Click on ‘Mentions’ from the dropdown and you will be directed to the mentions listing page for further details.
8. Bundles Versus Packages
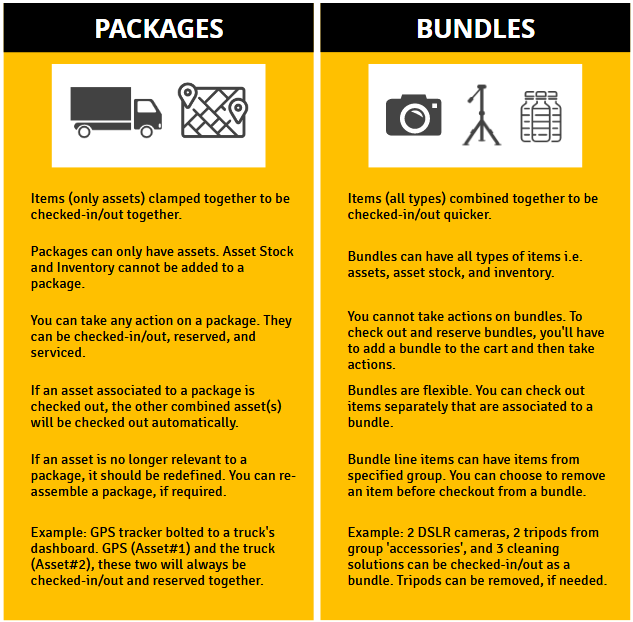
Bundles differ from a related feature, Packages. Click here to learn more about Packages.
Have more questions?
If you have more questions on this feature, do write to us at support@ezo.io


