
Managing the user lifecycle is crucial for businesses. As companies grow or experience turnover, their employee count keeps changing. They need a quick and easy way to add or delete user accounts from their company directories and simultaneously authorize or revoke employees’ access to various business applications.
EZOfficeInventory has now integrated with the SCIM protocol so you can manage the identity data of your employees on the cloud and seamlessly provision them access and user rights into the EZOfficeInventory application from any identity provider.
Our integration with SCIM simplifies the user experience by automating your user provisioning processes. It automatically creates, updates, and deletes users in your EZOfficeInventory account as you create, update, and delete them in IdP tools like Okta.
Since data is communicated automatically, it saves your IT teams valuable time and reduces the risk of error stemming from manual data entry. This guide provides detailed information on EZOfficeInventory and Okta provisioning integration.
1. Features
EZOfficeInventory supports the following Okta features for SCIM user provisioning:
- Push New Users: New employees are automatically provisioned with their respective EZOfficeInventory accounts when created in Okta.
- Update User Attributes: Any changes in the profile attributes of an employee in Okta can automatically be updated in EZOfficeInventory.
- Deactivate Users: An employee’s access to EZOfficeInventory is de-provisioned when the employee is deleted in Okta. This is typically done when the employee is on leave or has left the organization.
- Reactivate Users: Deactivated users can be reactivated when they are reassigned to the EZOfficeInventory application in their Okta account. This is typically done when employees switch from one device to another.
Note: EZOfficeInventory does not support group provisioning for Okta.
2. Requirements
SCIM-based user provisioning is available to Premium package customers only. Please reach out to support@ezofficeinventory.com in case you have further questions.
3. Step-by-step configuration instructions
Let’s walk you through some basic steps on how to implement SCIM-based user provisioning in EZOfficeInventory!
3.1. Add the EZOfficeInventory application in Okta
Before you go ahead and enable the integration, you must first add the EZOfficeInventory application to your Okta account.
The process is very simple.
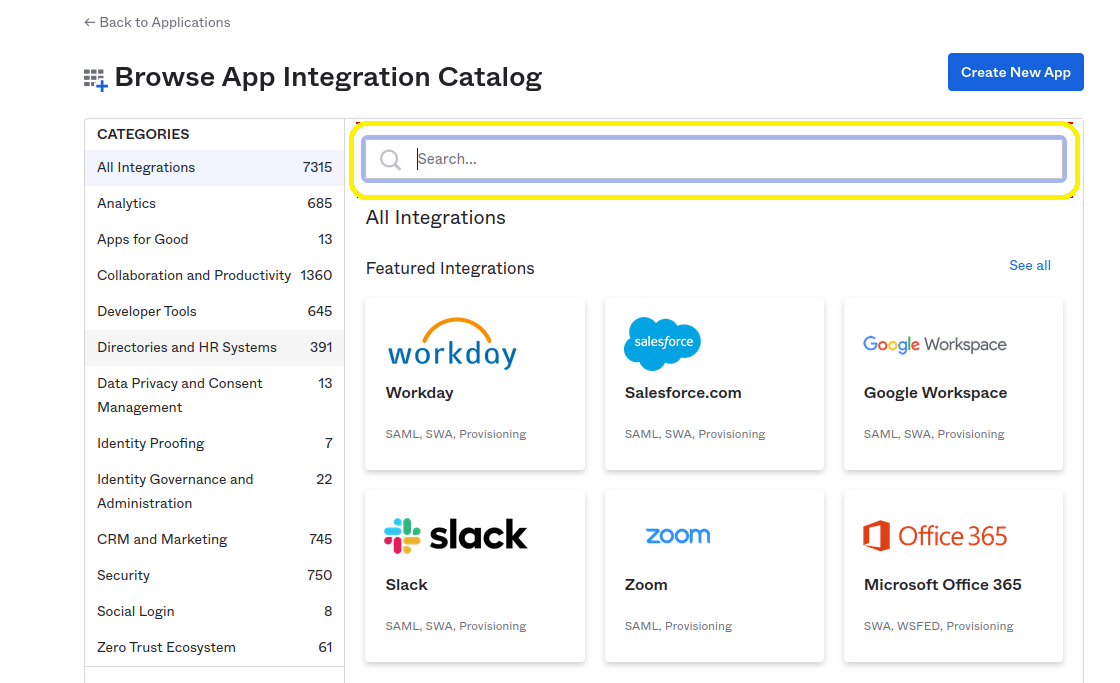
1. In your Okta account, go to Applications → Add Application → Type EZOfficeInventory in the Search bar.
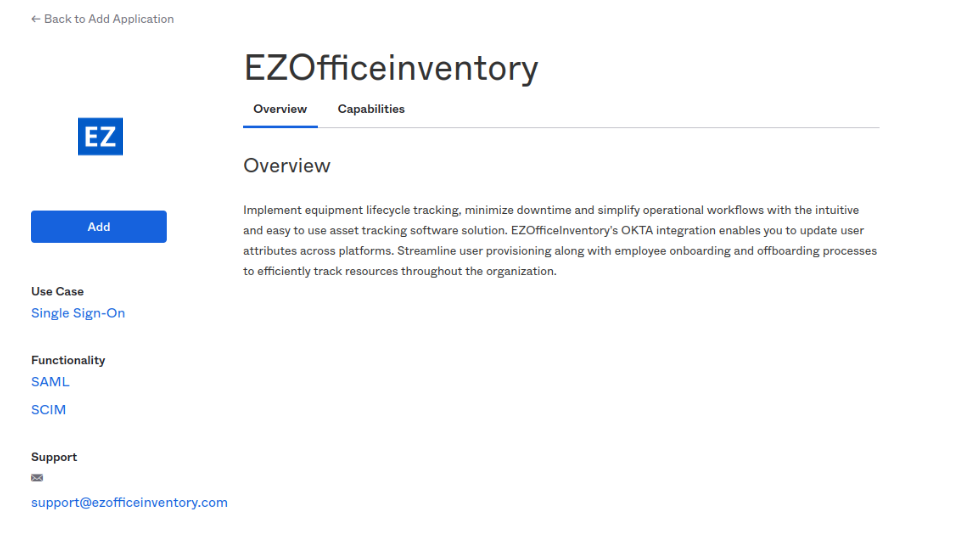
2. This leads you to the EZOfficeInventory application page. Click on ‘Add’.
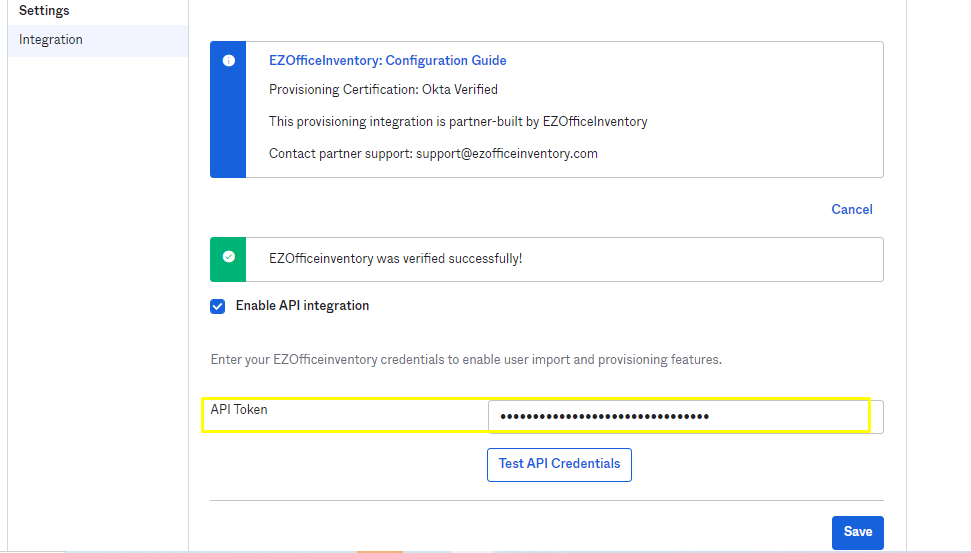
3. From the Provisioning tab, click on Configure API.

Here you can enter the API token from the EZOfficeInventory app and click Save.
The EZOfficeInventory application has now been added to your Okta account.
You are now ready to enable the integration and deploy SCIM-based user provisioning.
3.2. Enable the integration in EZOfficeInventory
To enable the integration in your EZOfficeInventory account, follow the pathway: Settings → Add Ons → User Provisioning via SCIM and select ‘Enabled’. Hit ‘Update’.
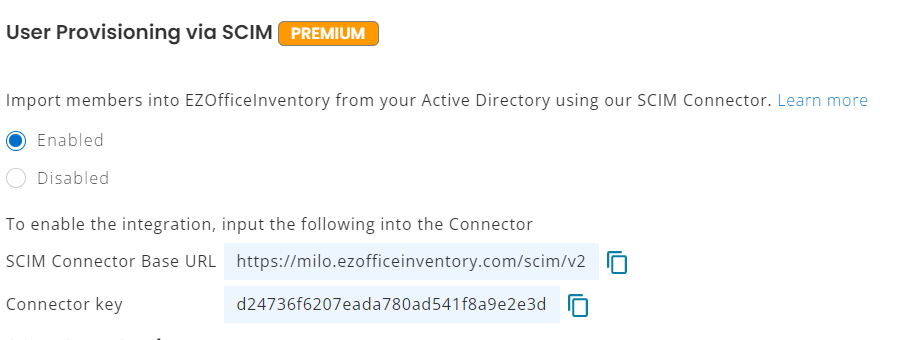
Enabling the setting reveals additional information shown below:
- SCIM Base Connector URL
- Connector Key
You will need to enter these two values in Step 3.
3.3. Configure the SCIM connection in Okta
Navigate to your Okta account.
1. Open the ‘Provisioning’ tab on the EZOfficeInventory App page and click ‘Edit’.
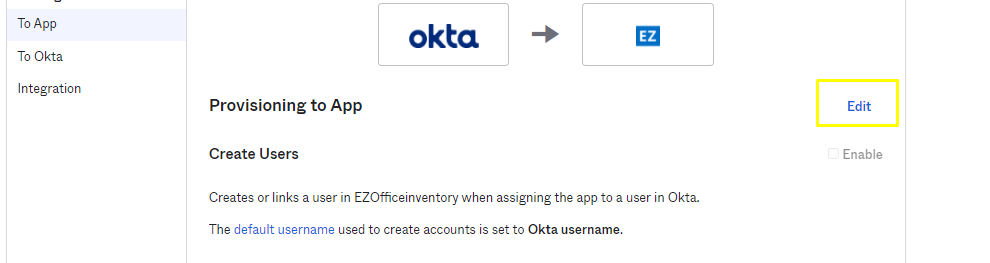
2. Select the relevant attributes and changes you wish to sync and click ‘Save’.
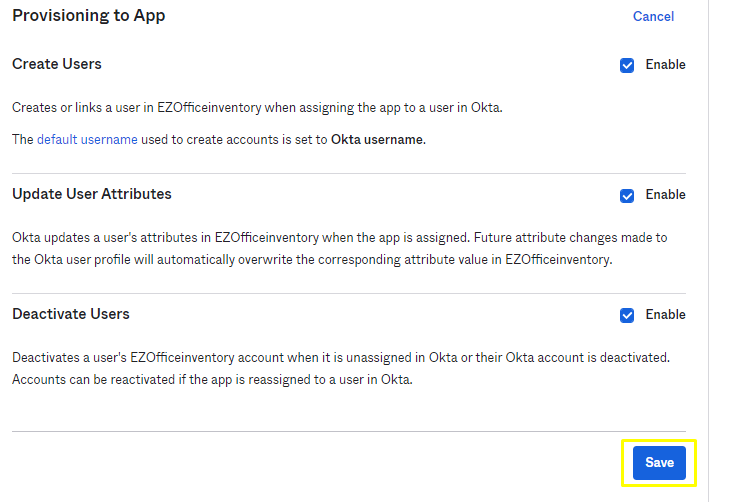
Provision settings are saved. You are now ready to create users in Okta and provision them access to EZOfficeInventory.
4. Provisioning user(s)
In your Okta account, follow this pathway to provision users in EZOfficeInventory via SCIM: EZOfficeInventory — Custom App → Assignments → Assign → Assign to People.
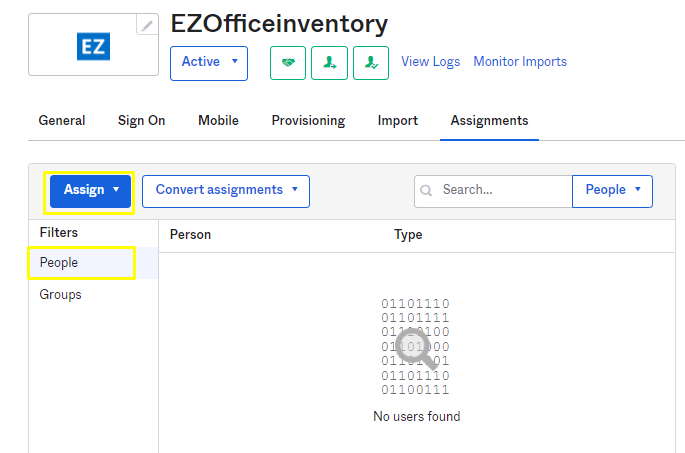
This opens up a dialog box from where you can click on ‘Assign’ for the user(s) you wish to provision for EZOfficeInventory.
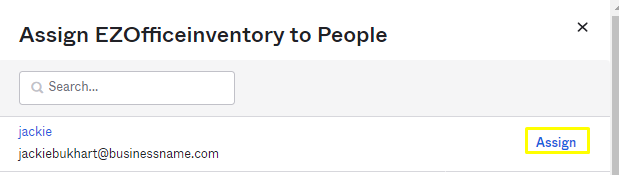
The following overlay appears. Select ‘Save and Go Back’.
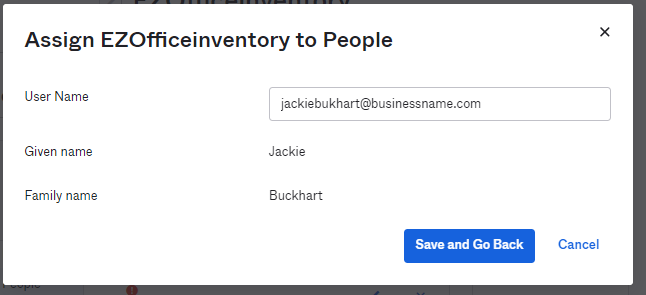
Your users have been assigned. Click on ‘Done’.
Now if you go to the ‘Members’ tab in your EZOfficeInventory account, you can see that the two users you assigned have been added in your EZOfficeInventory account.
5. Updating user information
SCIM also updates any changes you make to the user profiles in Okta. Let’s say, you just changed the default email address of an employee, Michael Kelso, in Okta.
To edit the user profile in Okta, go to Directory → People → Username → Profile → Edit. Edit the username and primary email address of Jackie Bukhart and click on ‘Save’.
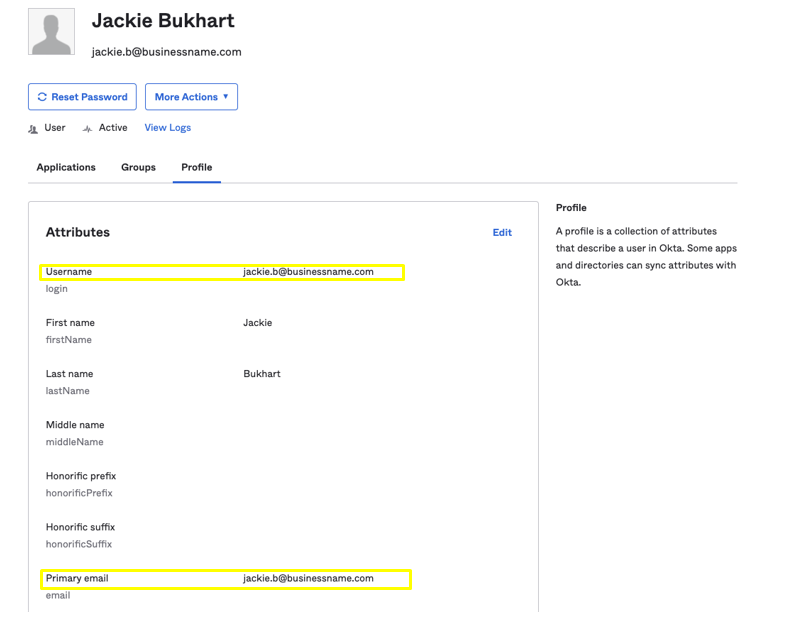
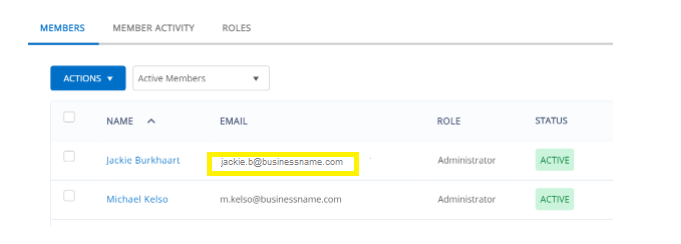
Notice that the default email address for Jackie Bukhart has been changed in your EZOfficeInventory account simultaneously.
6. De-provisioning user(s)
You can also de-provision the access of your employees to EZOfficeInventory. This may happen when an employee either leaves the team or the organization or is on a leave.
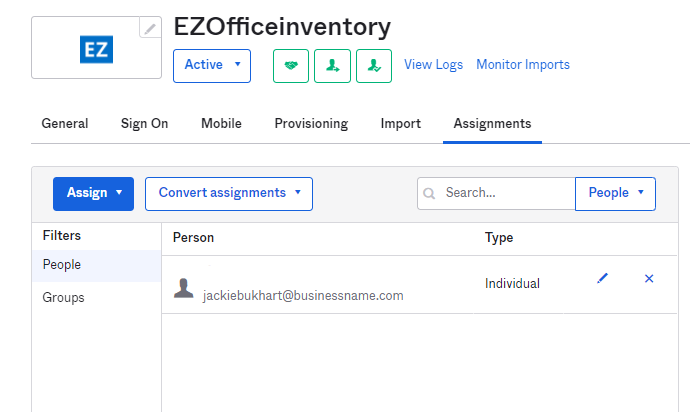
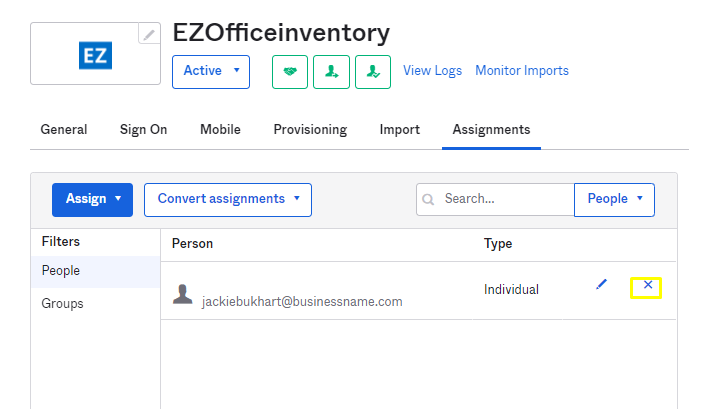
To de-provision a user, go to EZOfficeInventory — Custom App → Assignments in your Okta account. Click on the ‘x’ button next to the concerned user’s details.
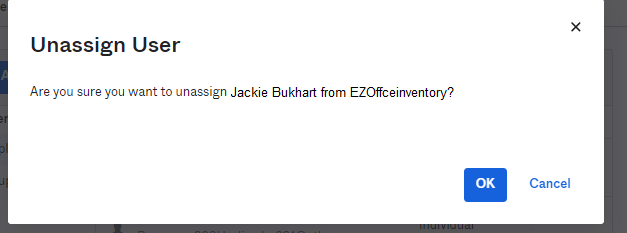
Click on ‘OK’.
This shall unassign or de-provision the user from your EZOfficeInventory account. Deprovisioning will deactivate the user in EZOfficeInventory.
Now Jackie Burkhart no longer exists in the Member list of your EZOfficeInventory account as this user will now be deactivated.
Note: But, if user can’t be deactivated from EZOfficeInventory directly then he won’t be deactivated in that case. However, an error message will be sent back on OKTA.
7. Custom attribute mapping for User Listings
EZOfficeInventory detects basic attributes in Okta as they are in the application. However, to map custom attributes and provision users based on these attributes, you have to carry out additional steps.
Step 1: Create a custom attribute
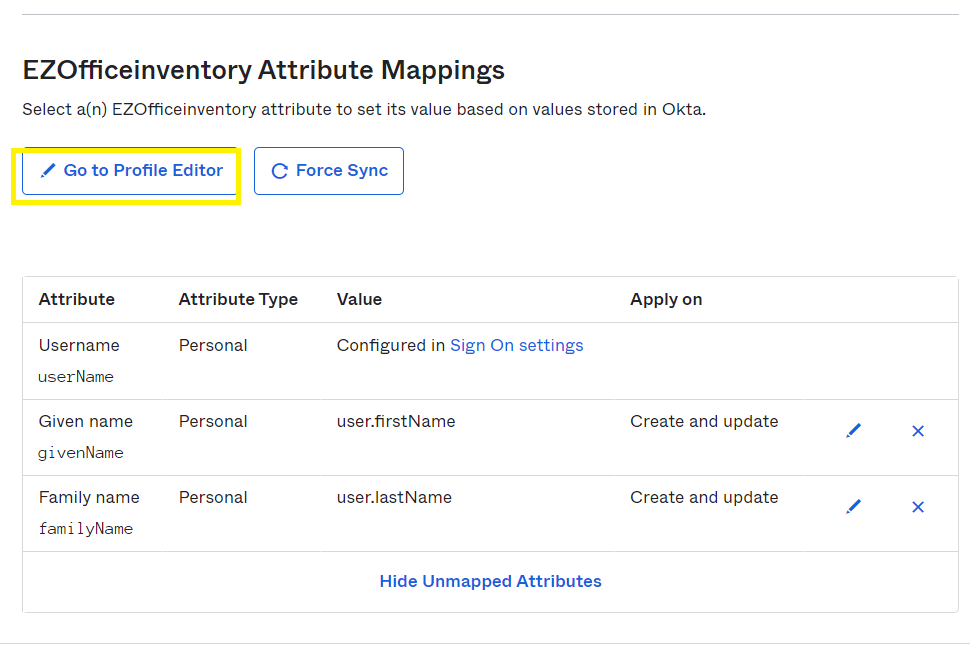
Open your Okta account, go to Applications → EZOfficeInventory → Provisioning → To App. Scroll down to the EZOfficeInventory Attribute Mappings section. Here, click on the ‘Go to Profile Editor’ button.
Here, on the Profile Editor page, click the ‘+Add Attribute’ button.
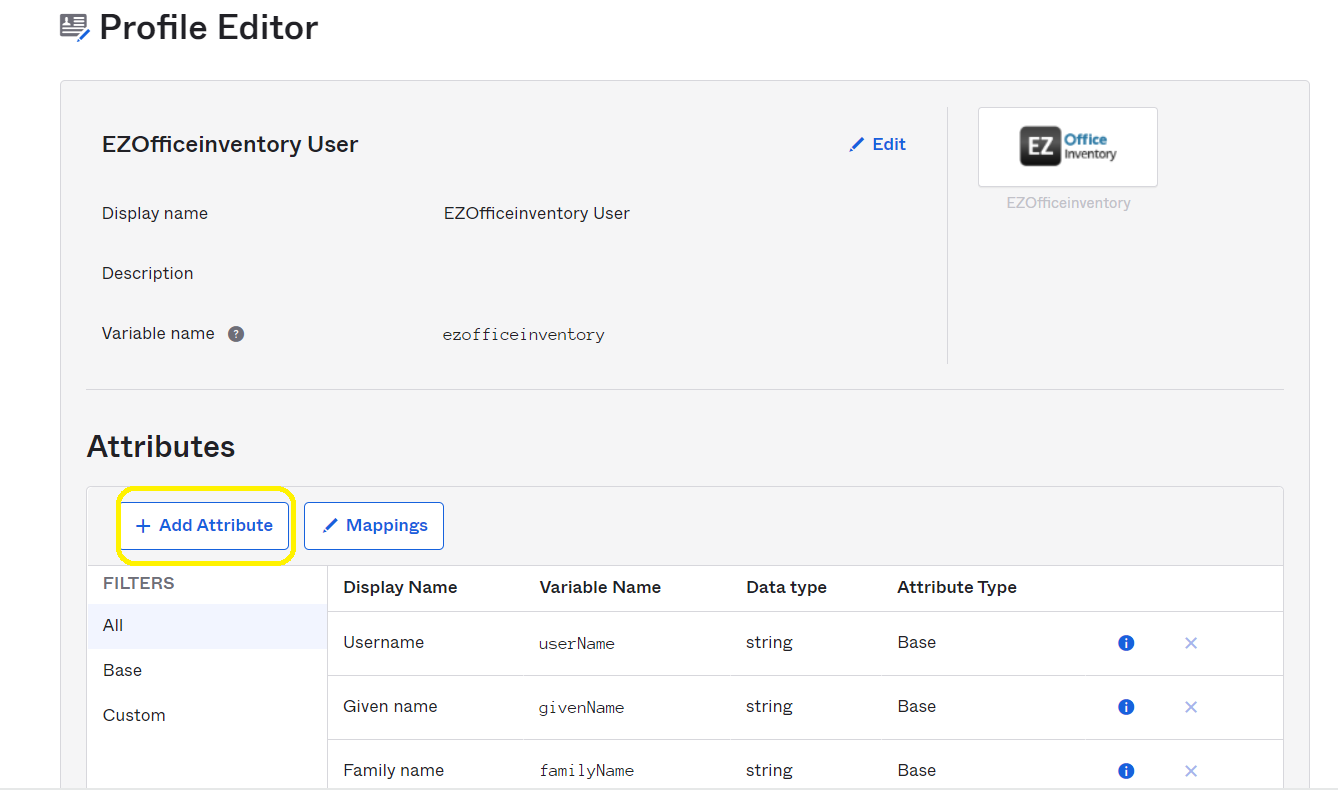
Here is an example on how to create and map the custom attribute for User Listing.
Enter values as required and hit ‘Save’.
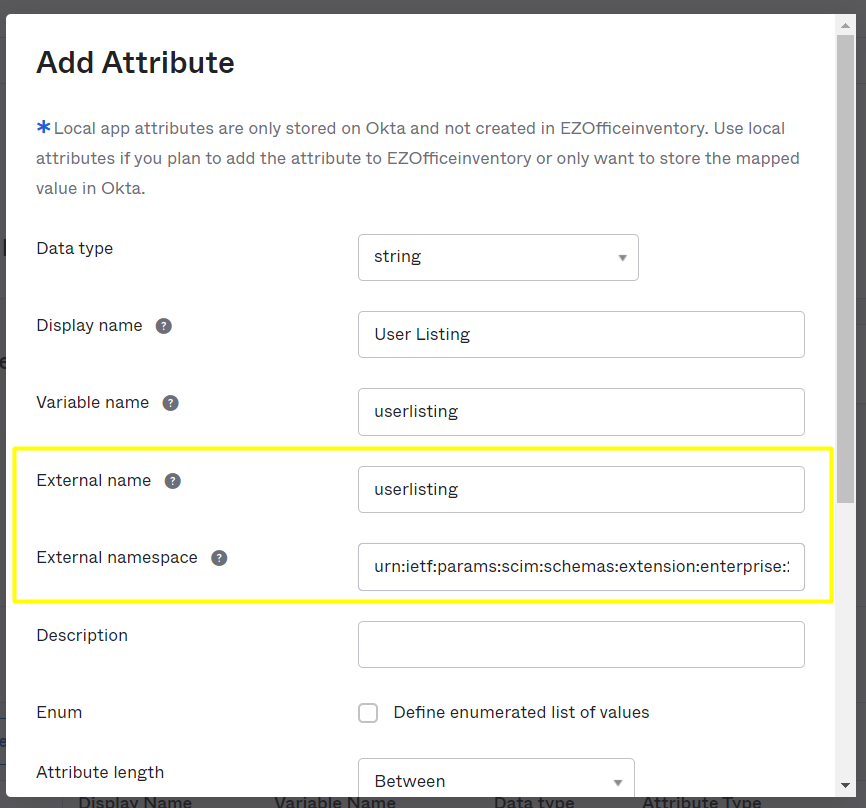
Note: Value for external namespace:
urn:ietf:params:scim:schemas:extension:enterprise:2.0:User
Values entered for External name and External namespace fields should not have any space between them.
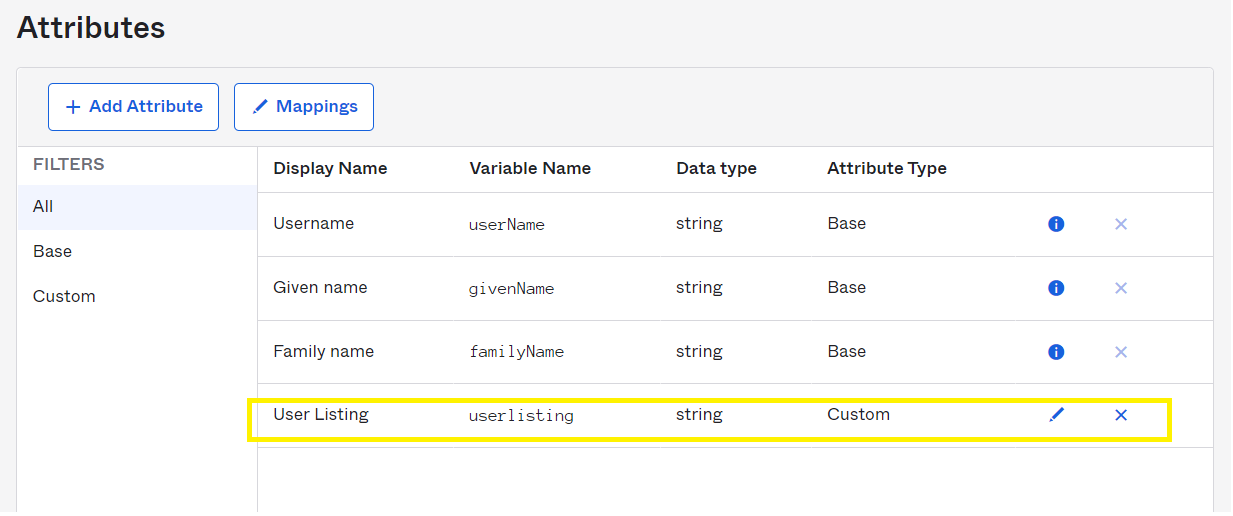
The custom attribute is now created as shown.
Step 2: Map the custom attribute in EZOfficeInventory
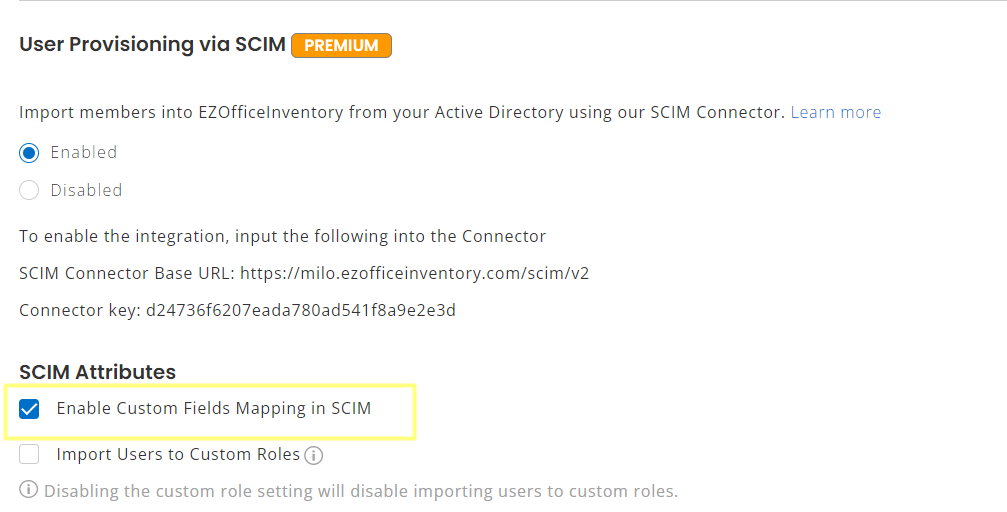
In your EZOfficeInventory account, go to Settings → Add Ons → User Provisioning via SCIM. Select the checkbox ‘Enable Custom Field Mappings in SCIM’ and update the setting.
On the Add Ons page scroll below. In the User Listing field, paste the values of External namespace and External name from Step 1.

Note: You must paste the custom attribute value in the format — External namespace.External name. In this case, the value should look like ‘urn:ietf:params:scim:schemas:extension:enterprise:2.0:User.userlisting’.
Hit ‘Update’ once done.
Step 3: Specify the custom attributes and provision user(s)
Now, go to Applications → EZOfficeInventory → Assignments → Assign → Assign to People in your Okta account.
Assign the relevant users to the EZOfficeInventory application.

After you select the relevant people, the following dialogue box will appear. Specify the User Listing and save changes.
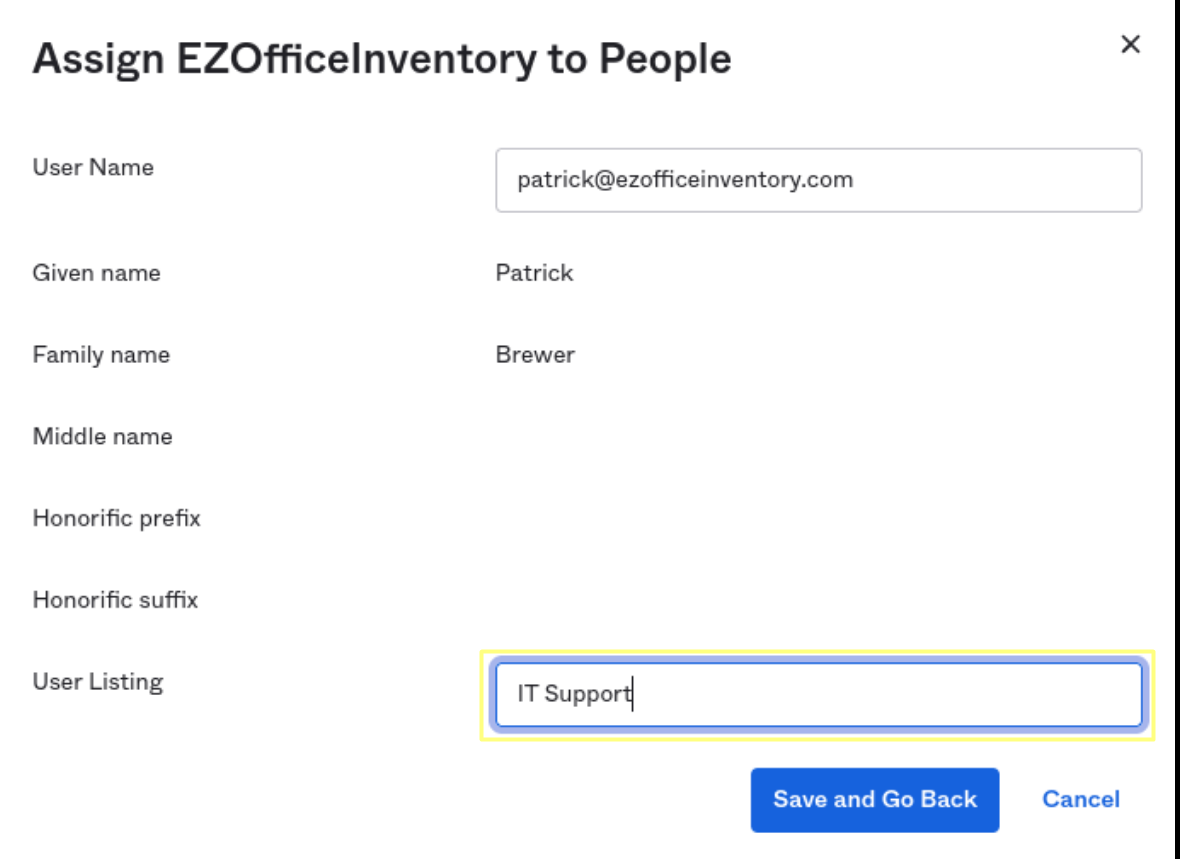
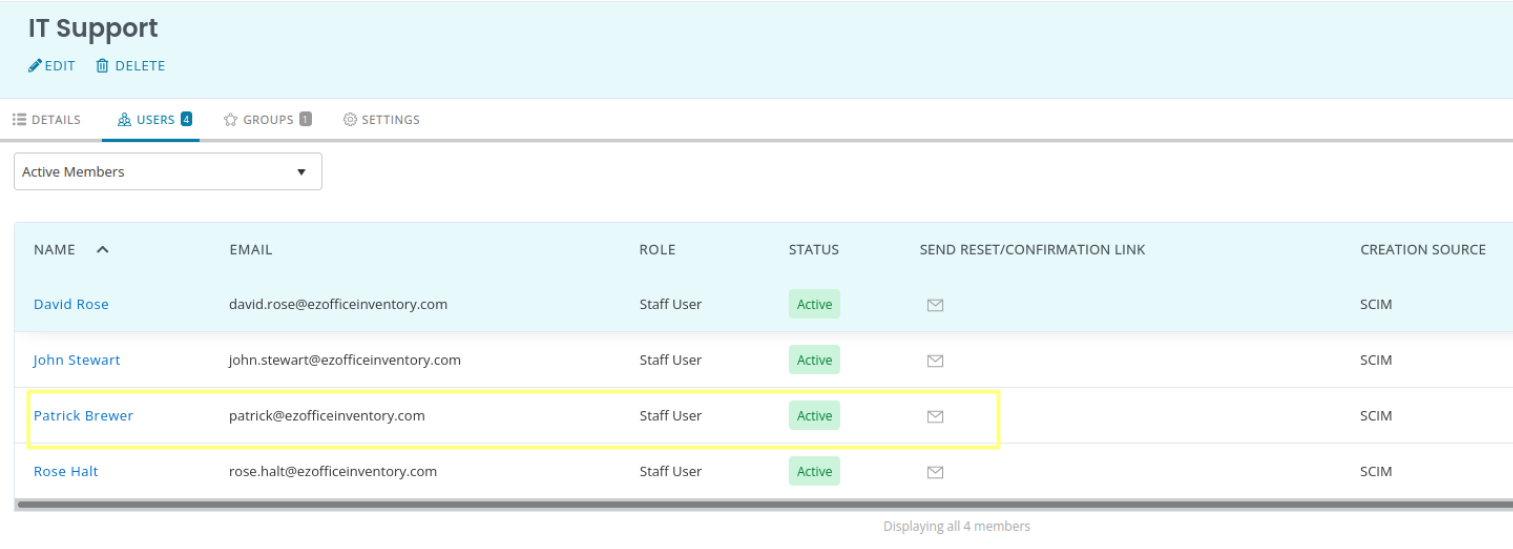
This action shall provision the user and add them to the IT Support user listing in EZOfficeInventory as illustrated below.

Note: Before mapping user(s) to a User Listing, ensure that the latter has been created in EZOfficeInventory.
8. Troubleshooting and tips
In case you have any further queries, please feel free to reach us at support@ezofficeinventory.com.
About EZOfficeInventory!
EZOfficeInventory is the leading equipment tracking software. It allows you to track, maintain, and report on equipment from anywhere, at any time. We offer a free 15-day trial – no credit card required!


